How I do It
I've only recently started documenting my progress on my things. I did this for a few reasons. First, this way it'll be easier to tell people how long a picture took, and much easier to describe how I did it (since I'm not always the best with words, as anyone who's ever had more than a 20 second conversation with me would know, especially in person). Second, the better you are at something, apparently the less people are going to believe that you actuallly did it yourself. Though I'm not actually in the picutres painting/drawing them, I still think it's sufficient evidence.
The Drawing Process
I go about drawing my pictures by first choosing a reference or subject, because unfortunately my imagination fails me. My biggest problem is that my talent is too great for my imagination. Sure, I'm random and creative, but I can't easily think of a concept and then grasp it enough to build upon it and create something. At least not without giving up somewhere in the process. I'm trying to work on that though.
After I choose a reference, I start sketching it out. I draw loose and random shapes at first to lay it out, and then I adjust it and make it more and more accurate. For me, drawing something is about taking a blob that looks like nothing and fixing and correcting it until it's perfect. I guess from practicing over time I just got better at that and have been able to do that faster and more accurately.
Black & White
The first steps of drawing the Black & White pictures are basicly the foundation to everything else I do. When I draw, it's basicly me taking what I've done and adjusting it and fixing it until it's something better, and more like what it's supposed to be.
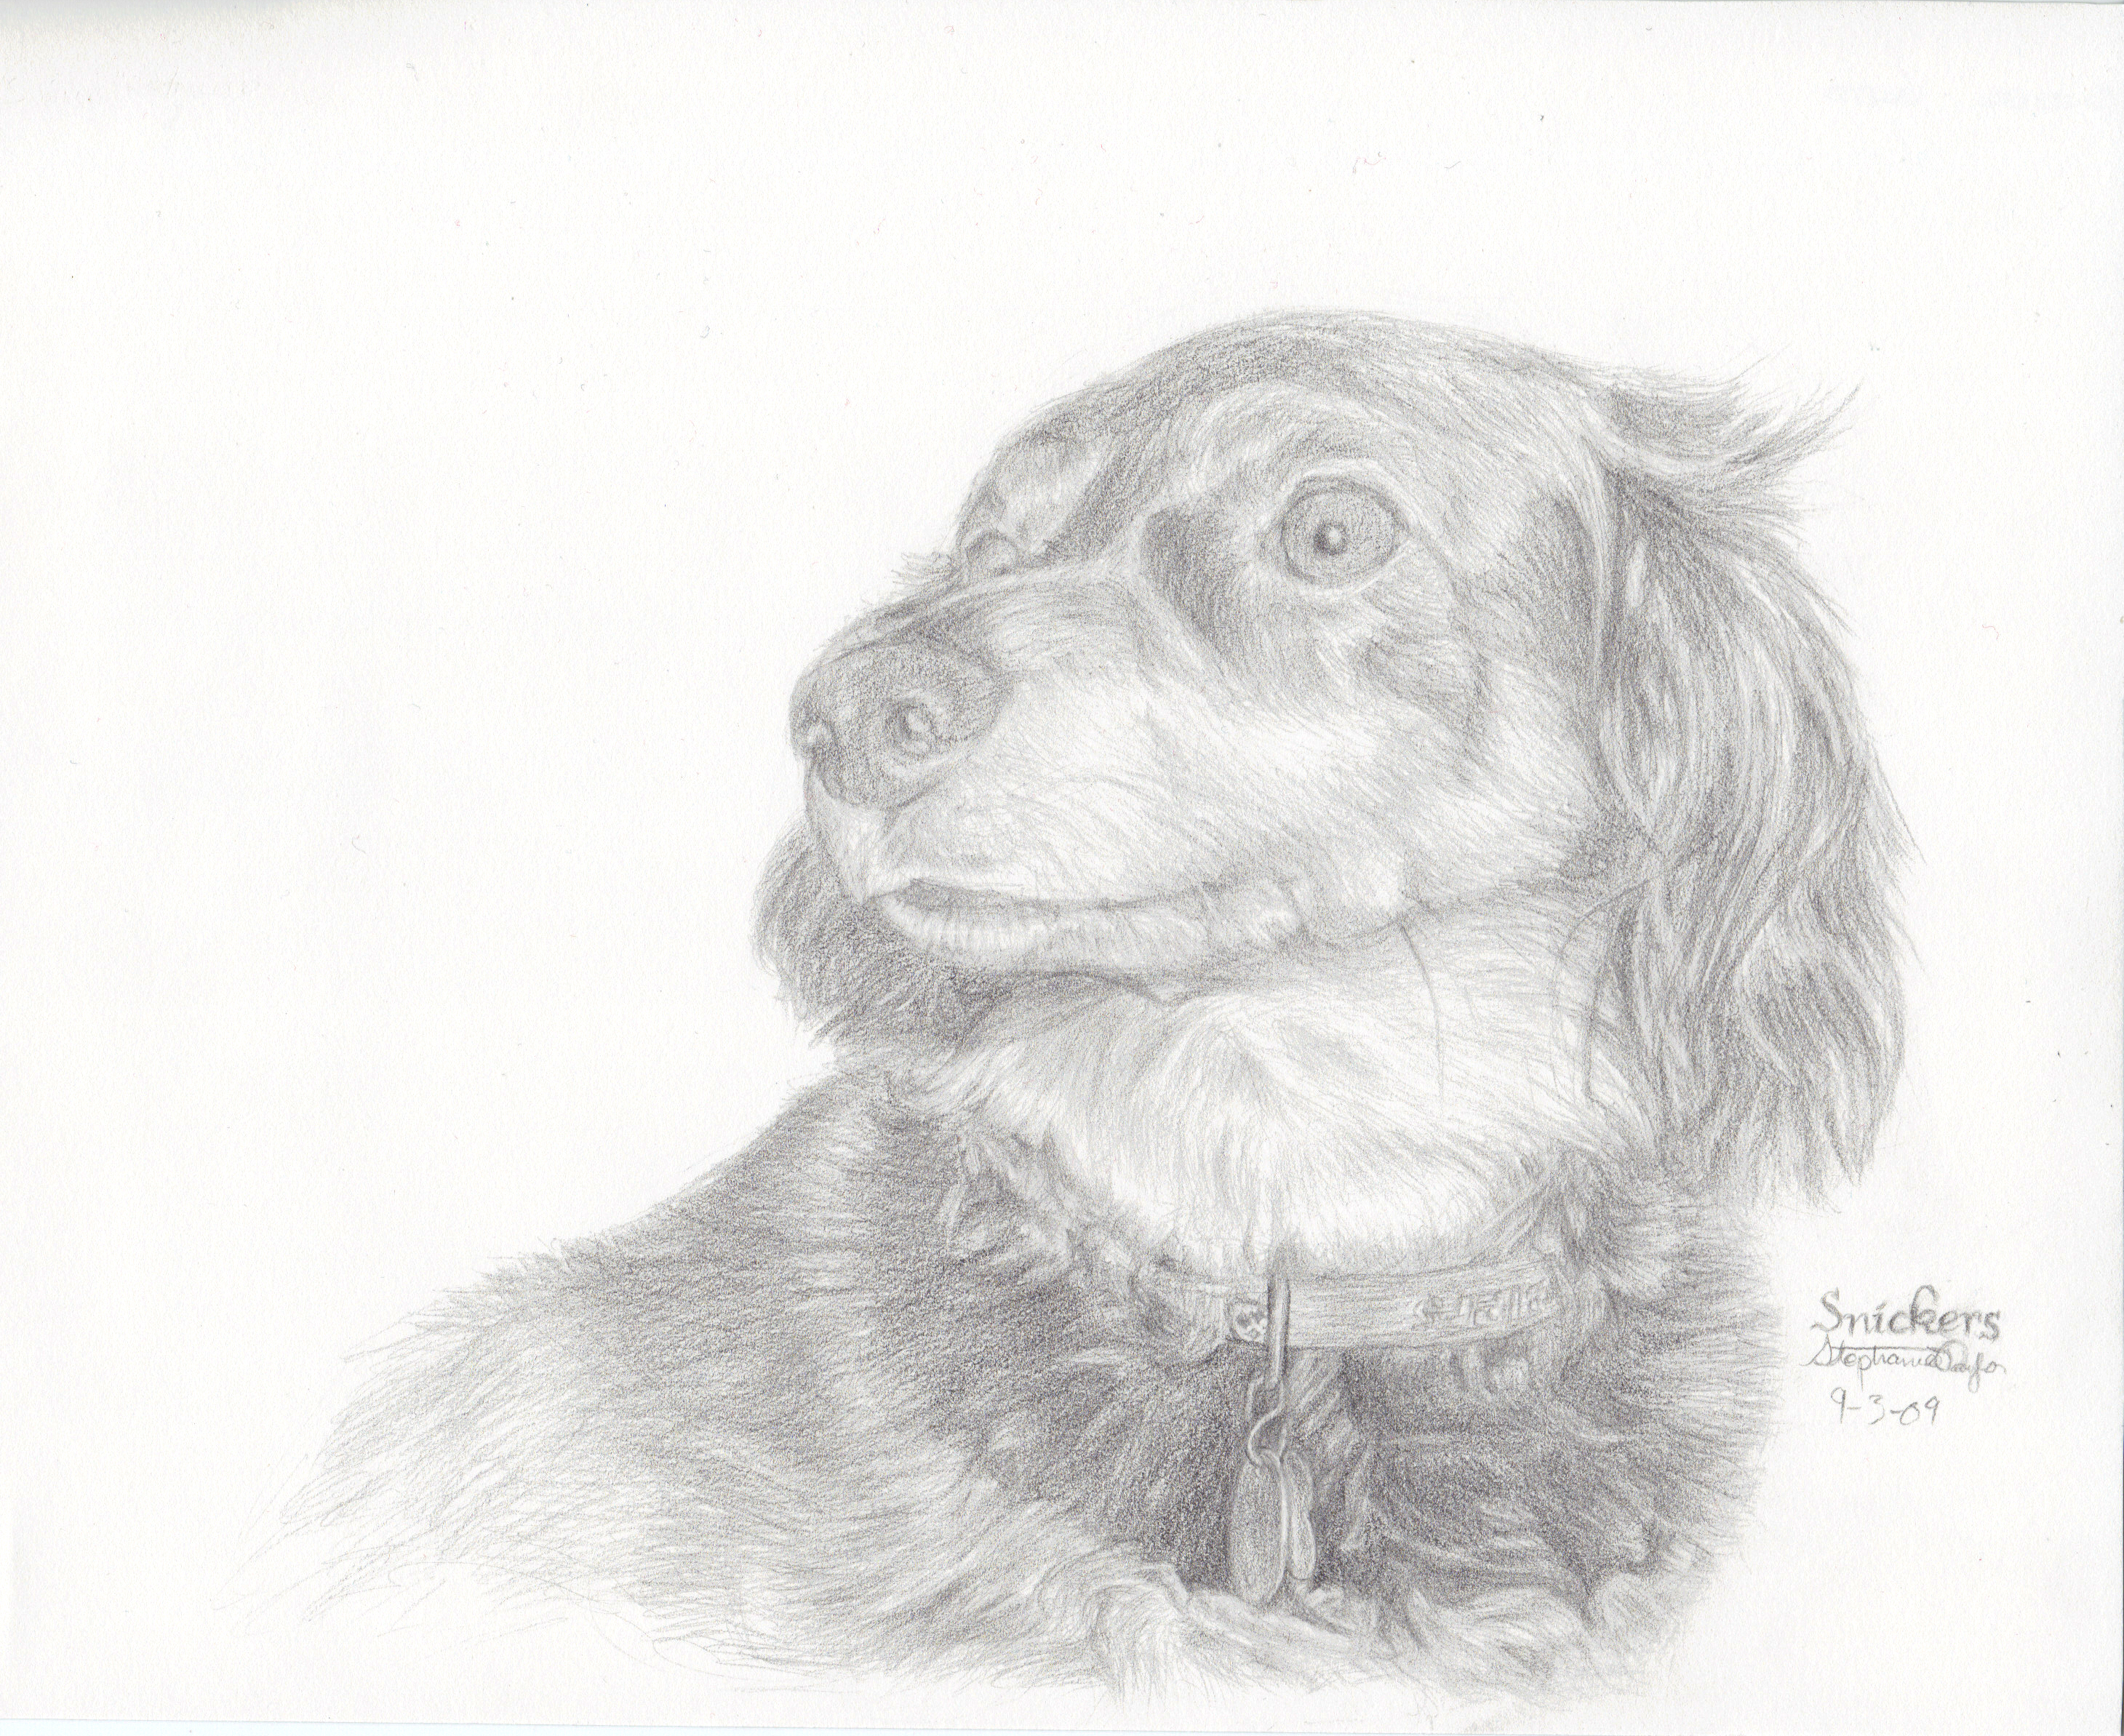
Snickers (9-3-09)
This is the process to the drawing I did of a teacher at my school's dog, which can be found under "Black & White' under the "My Drawings" tab. I drew it over this past summer. It actually didn't take that long... I did take some pretty long breaks between the steps though.
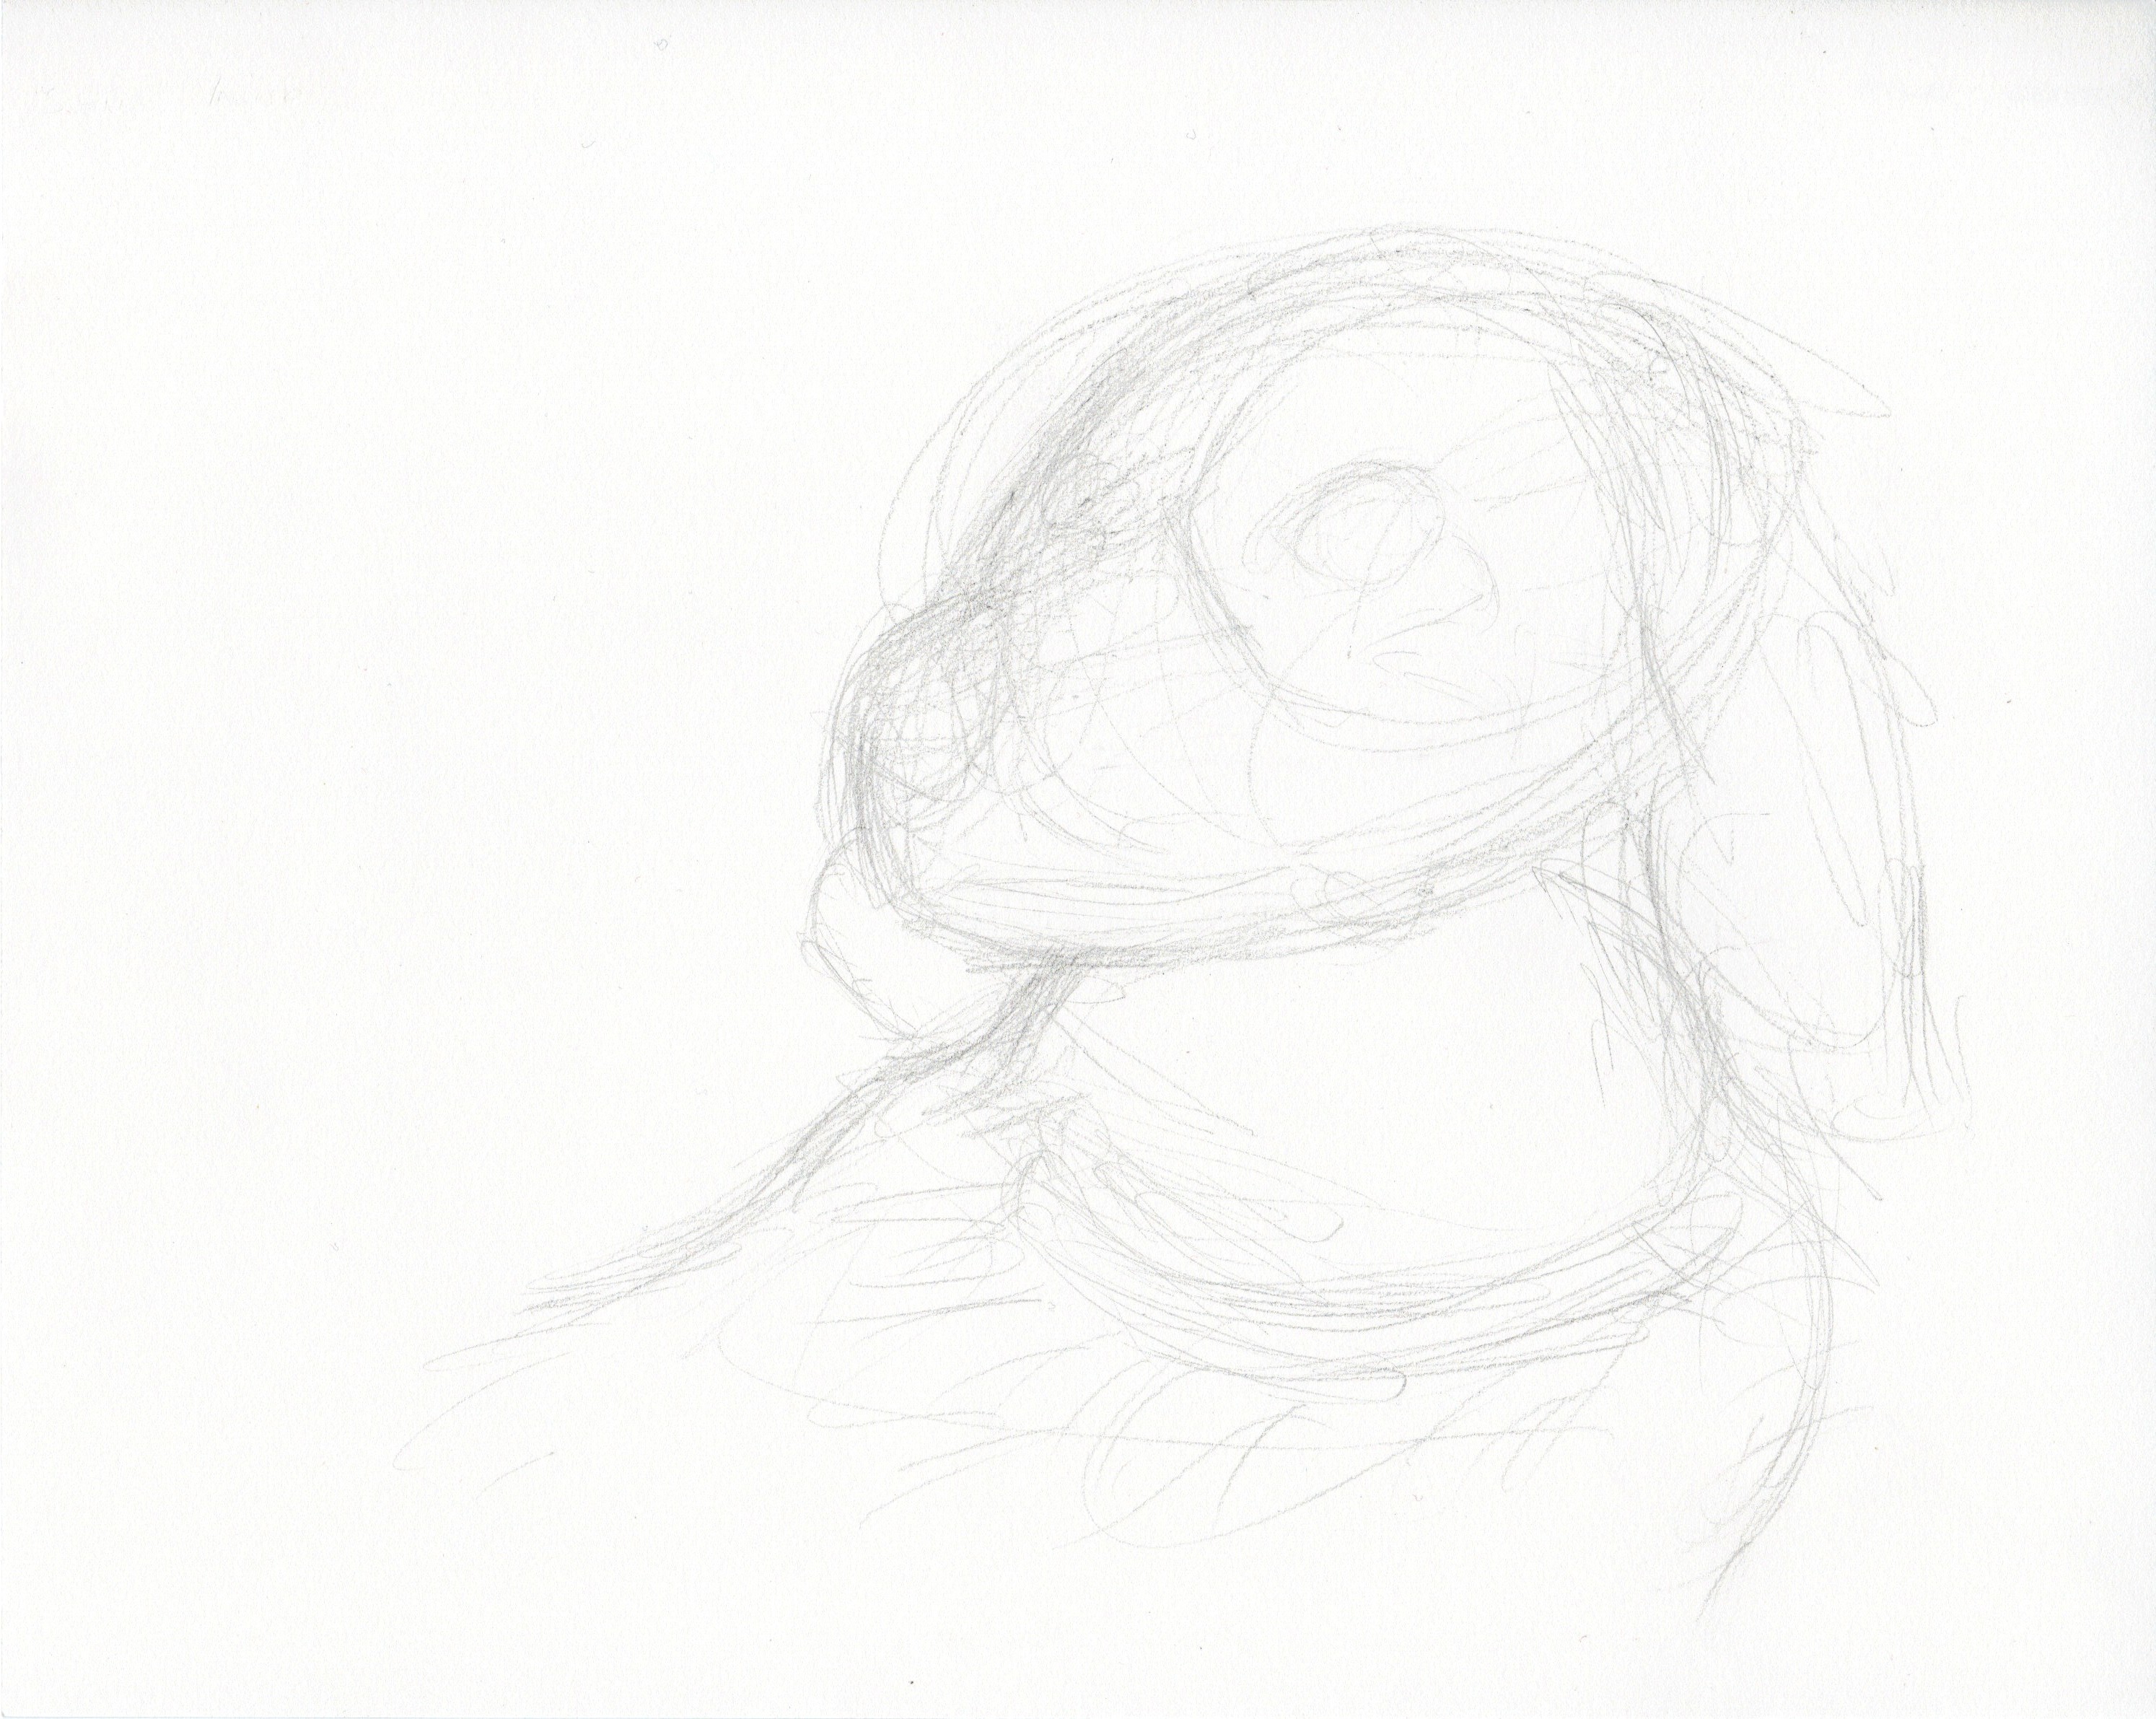
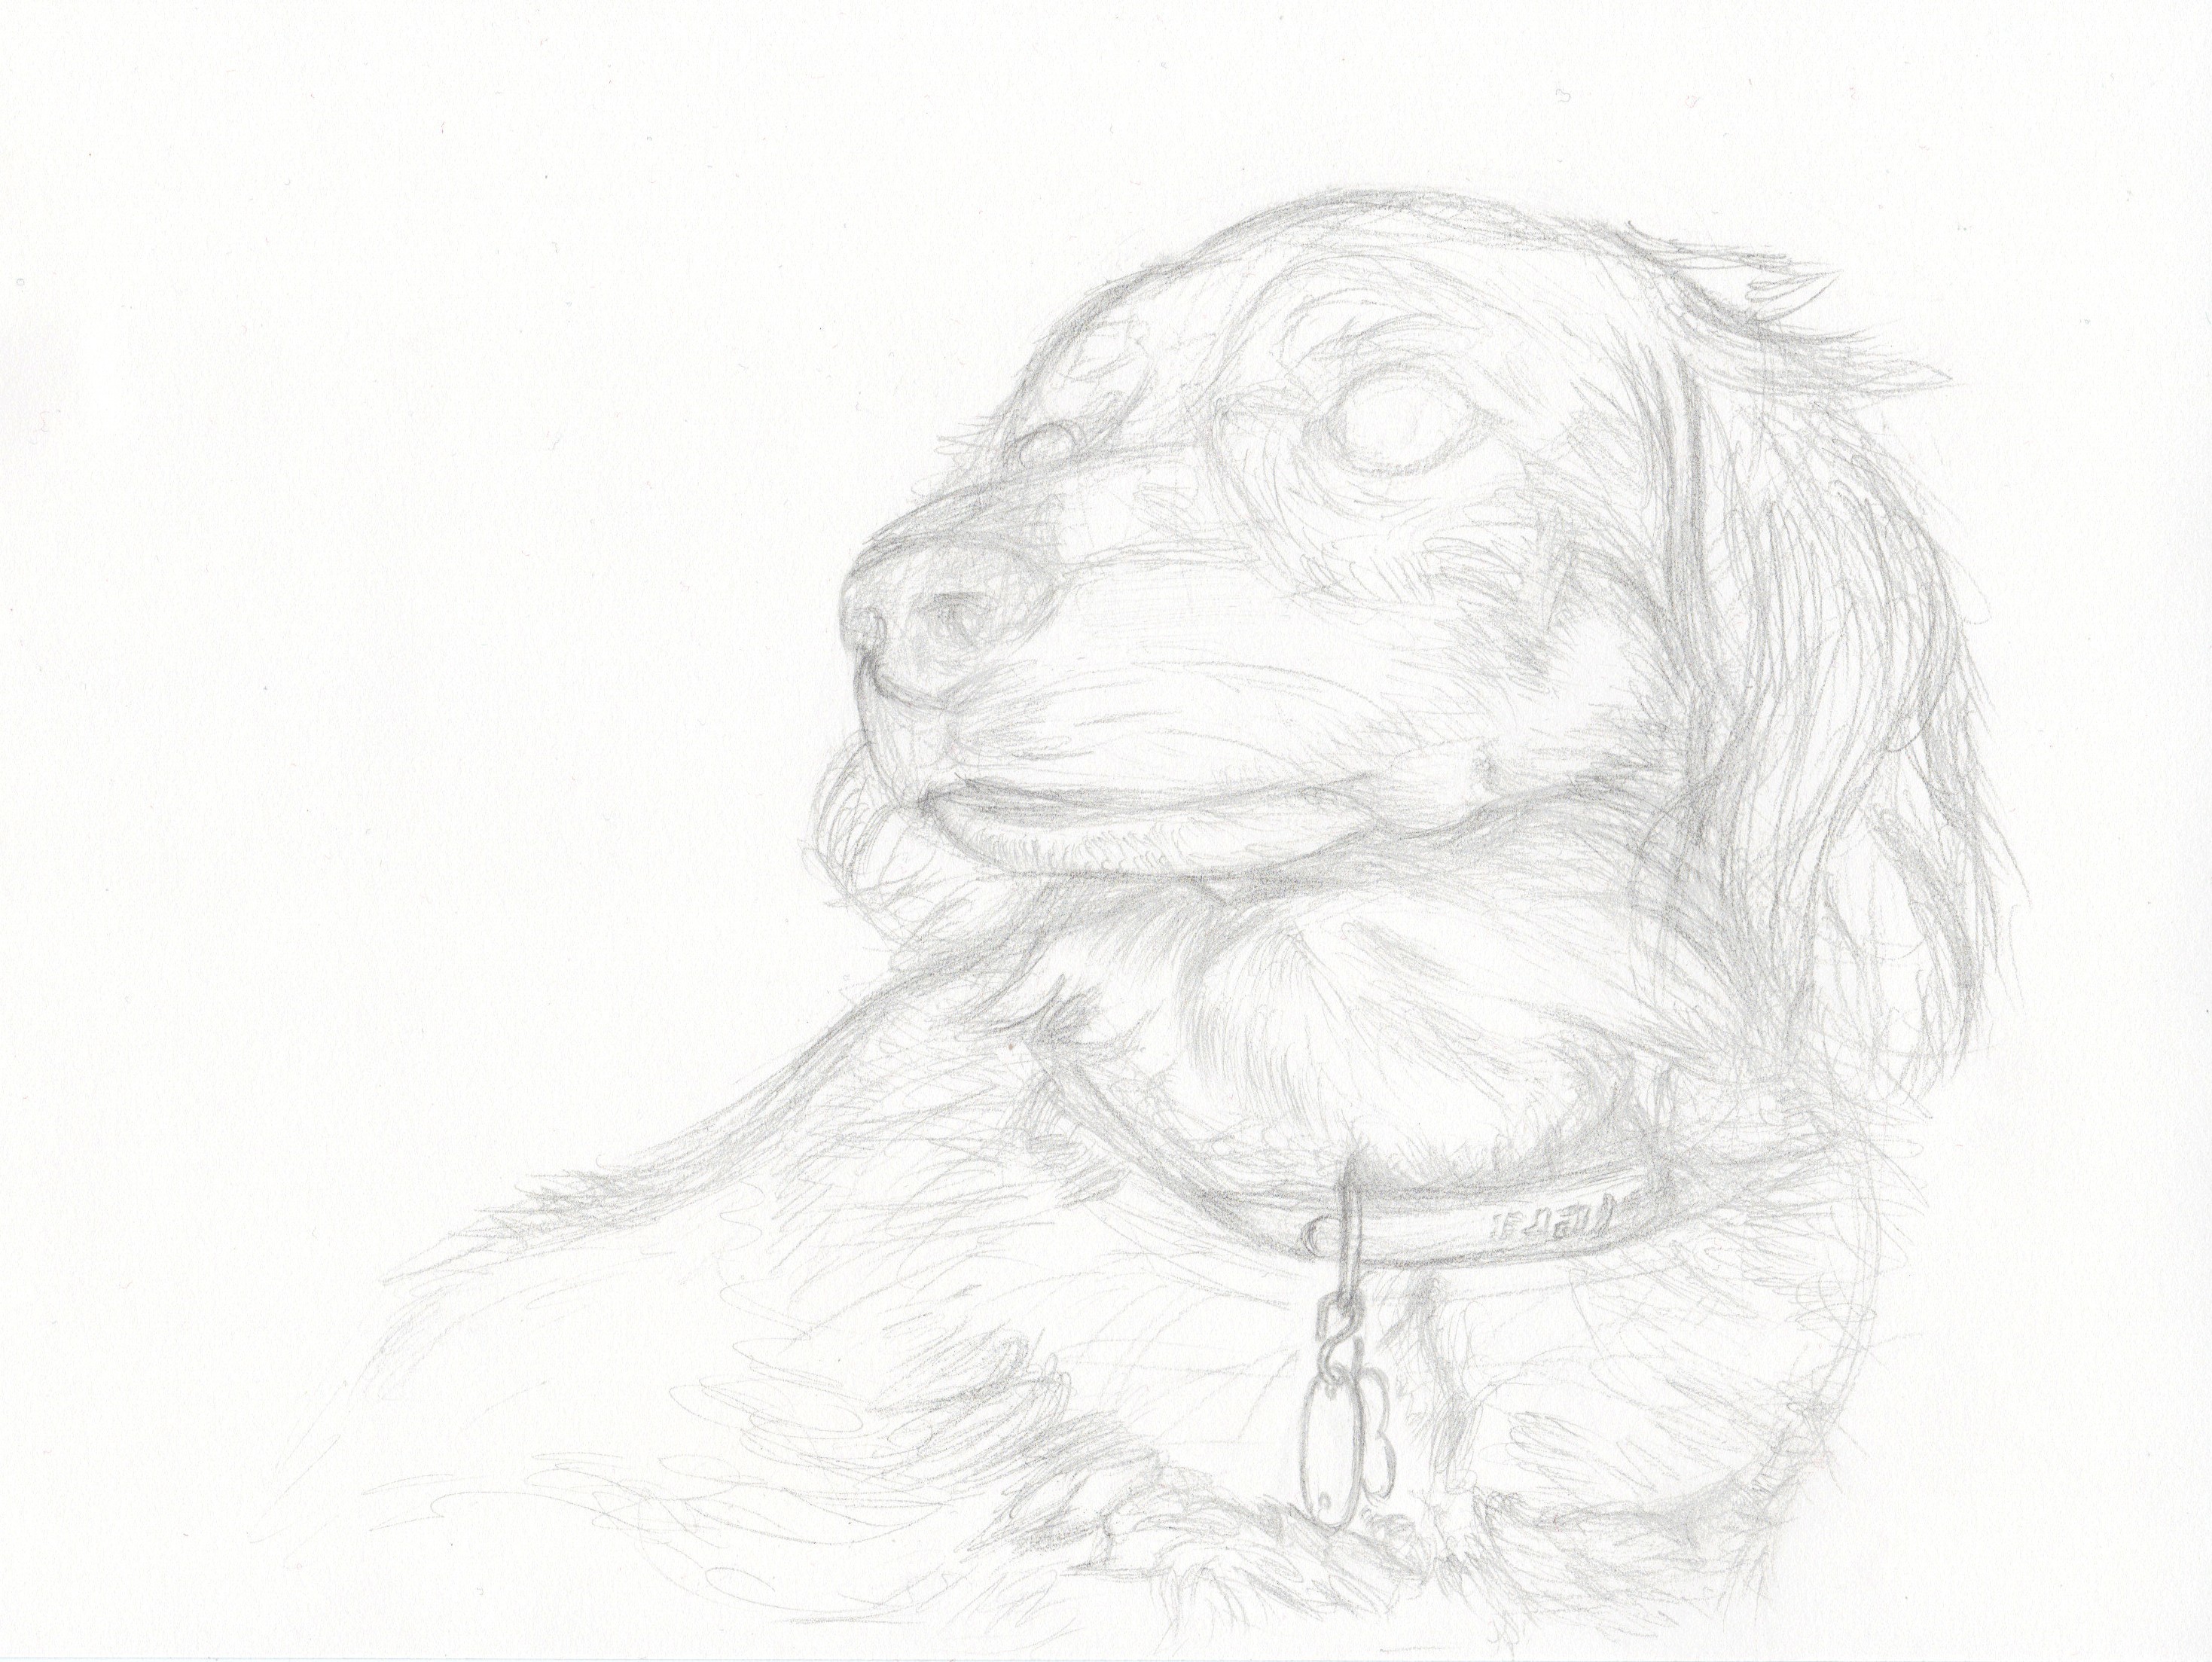
Step 1: Rough Sketch
This blob is your dog.
This step is basicly just to get a feel of where the final picture will be... Just to make sure its centered, fits the page, etc.
Step 2: Making Sense of the Rough Sketch
This is where I start fixing the original blob to get it to look at least something like it's supposed to. I adjust some things, add some things, and make things darker, to give me a better idea of where everything is and where everything's going to go..
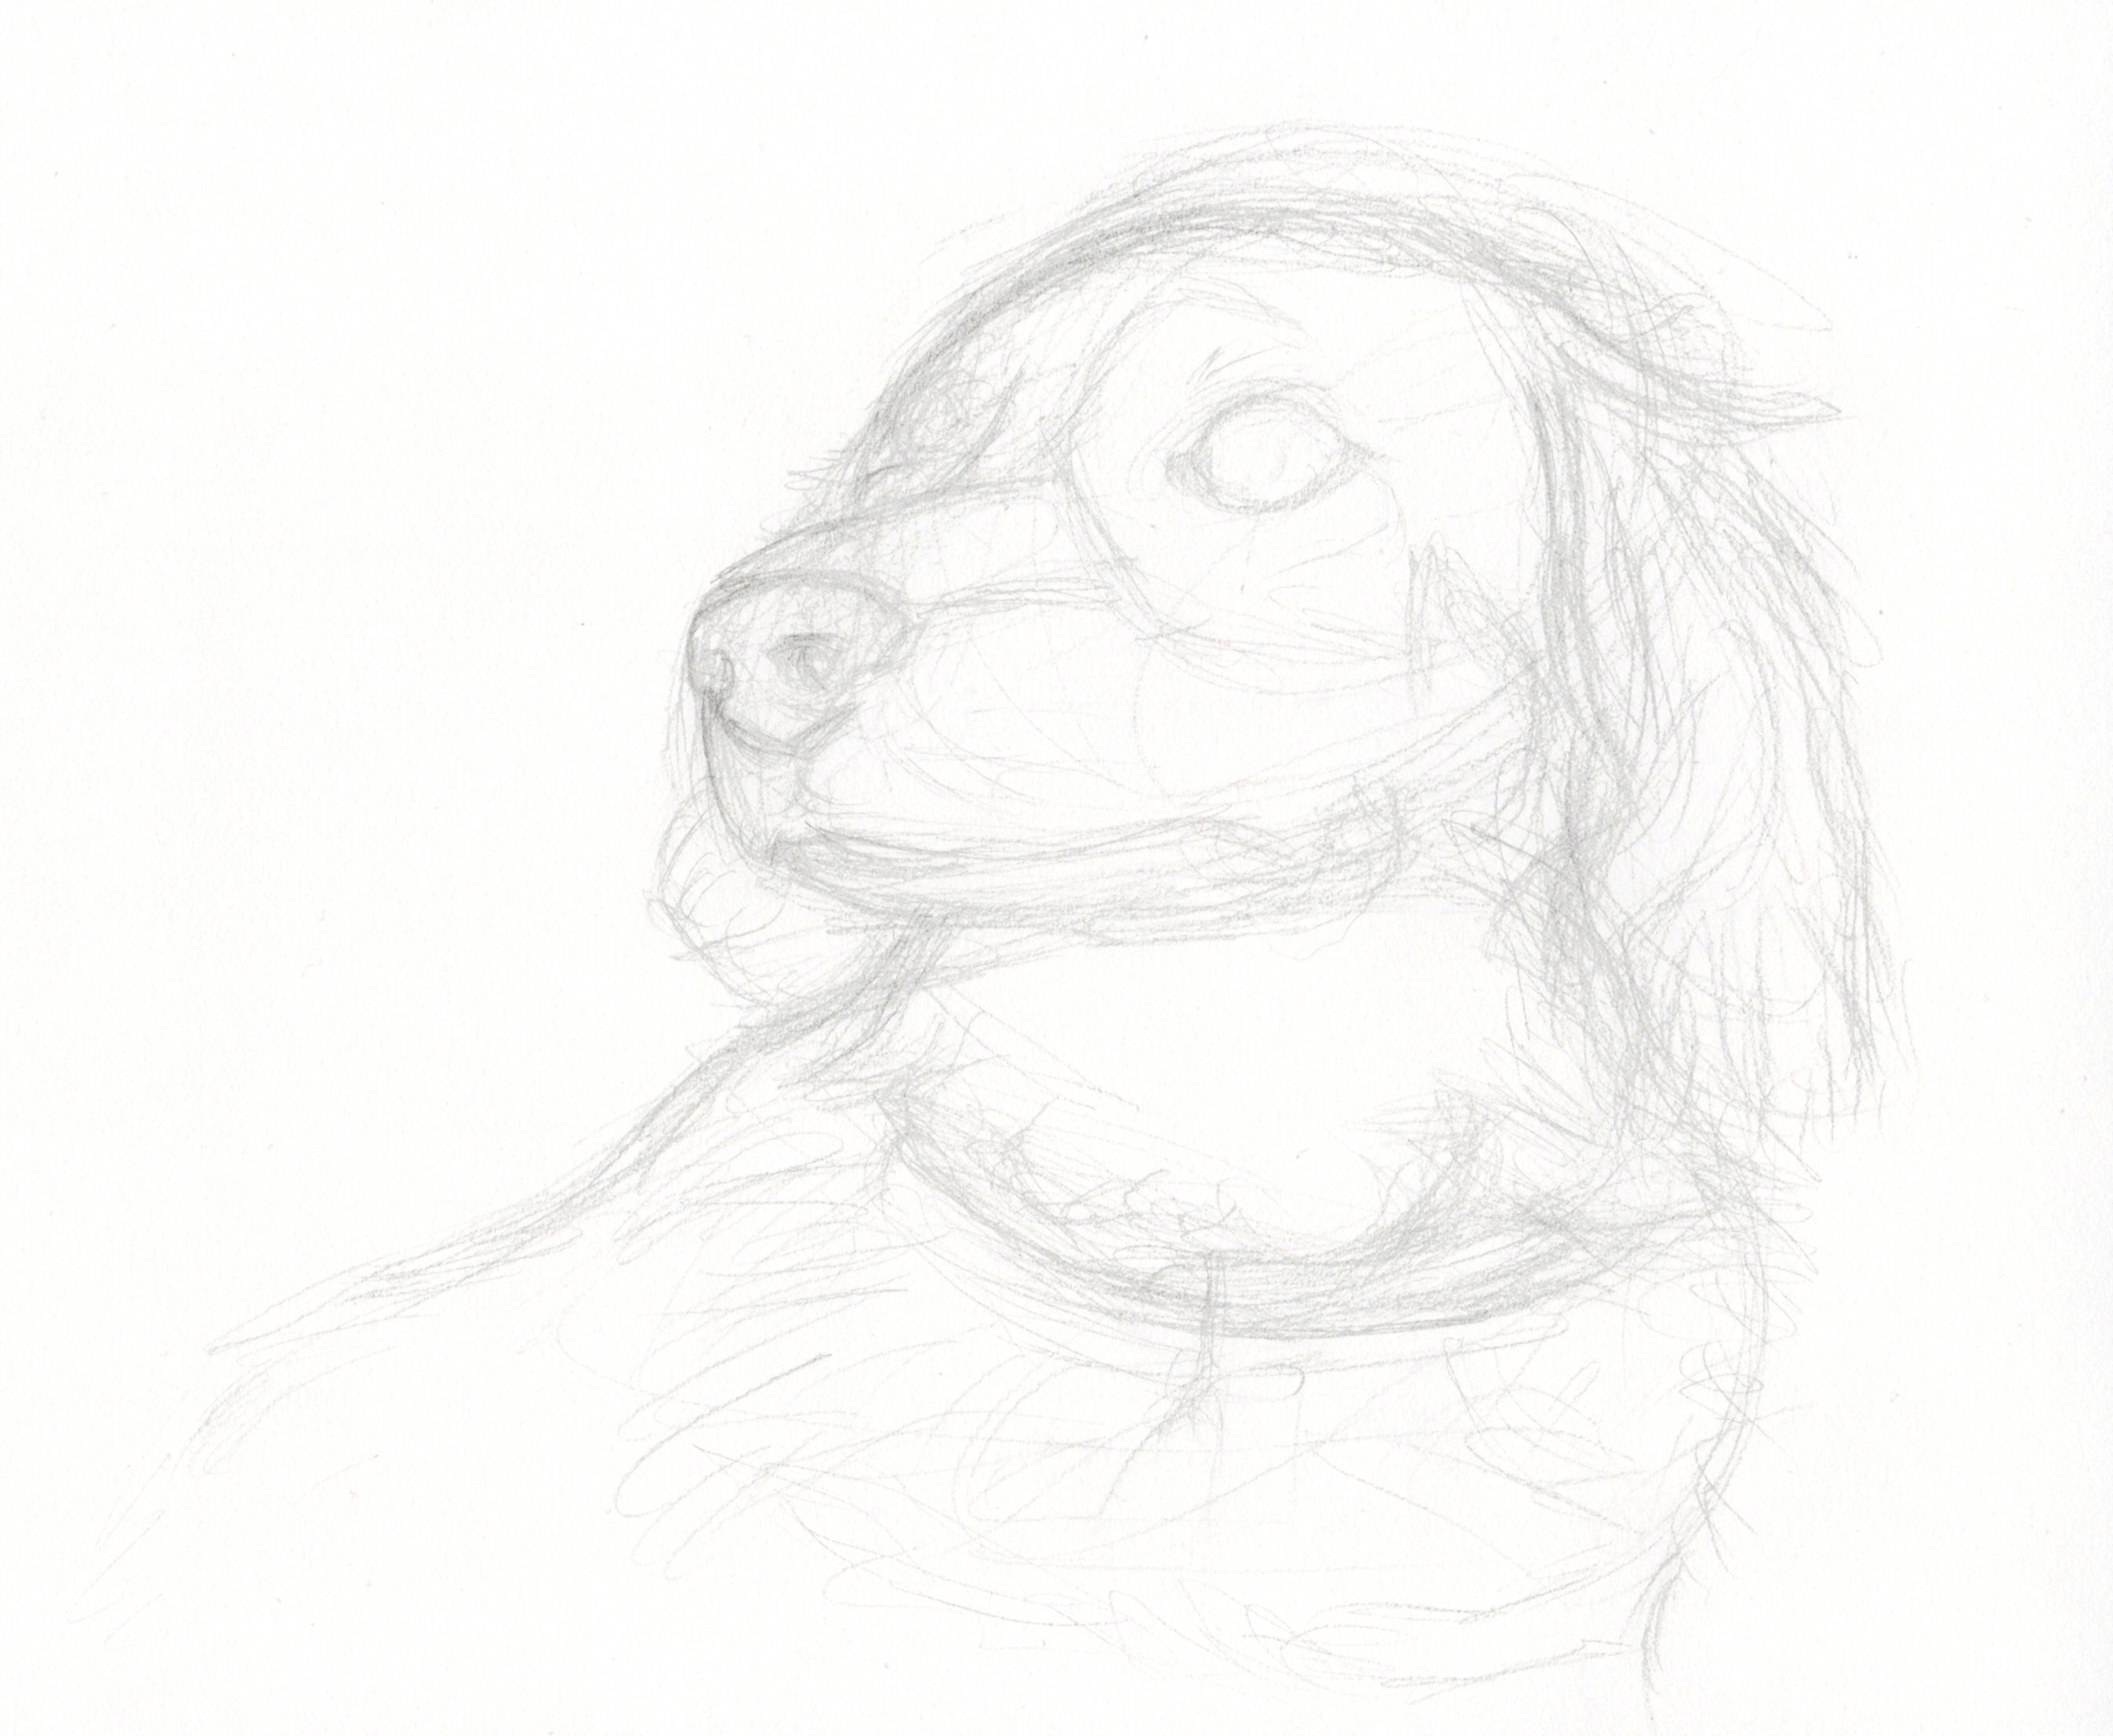
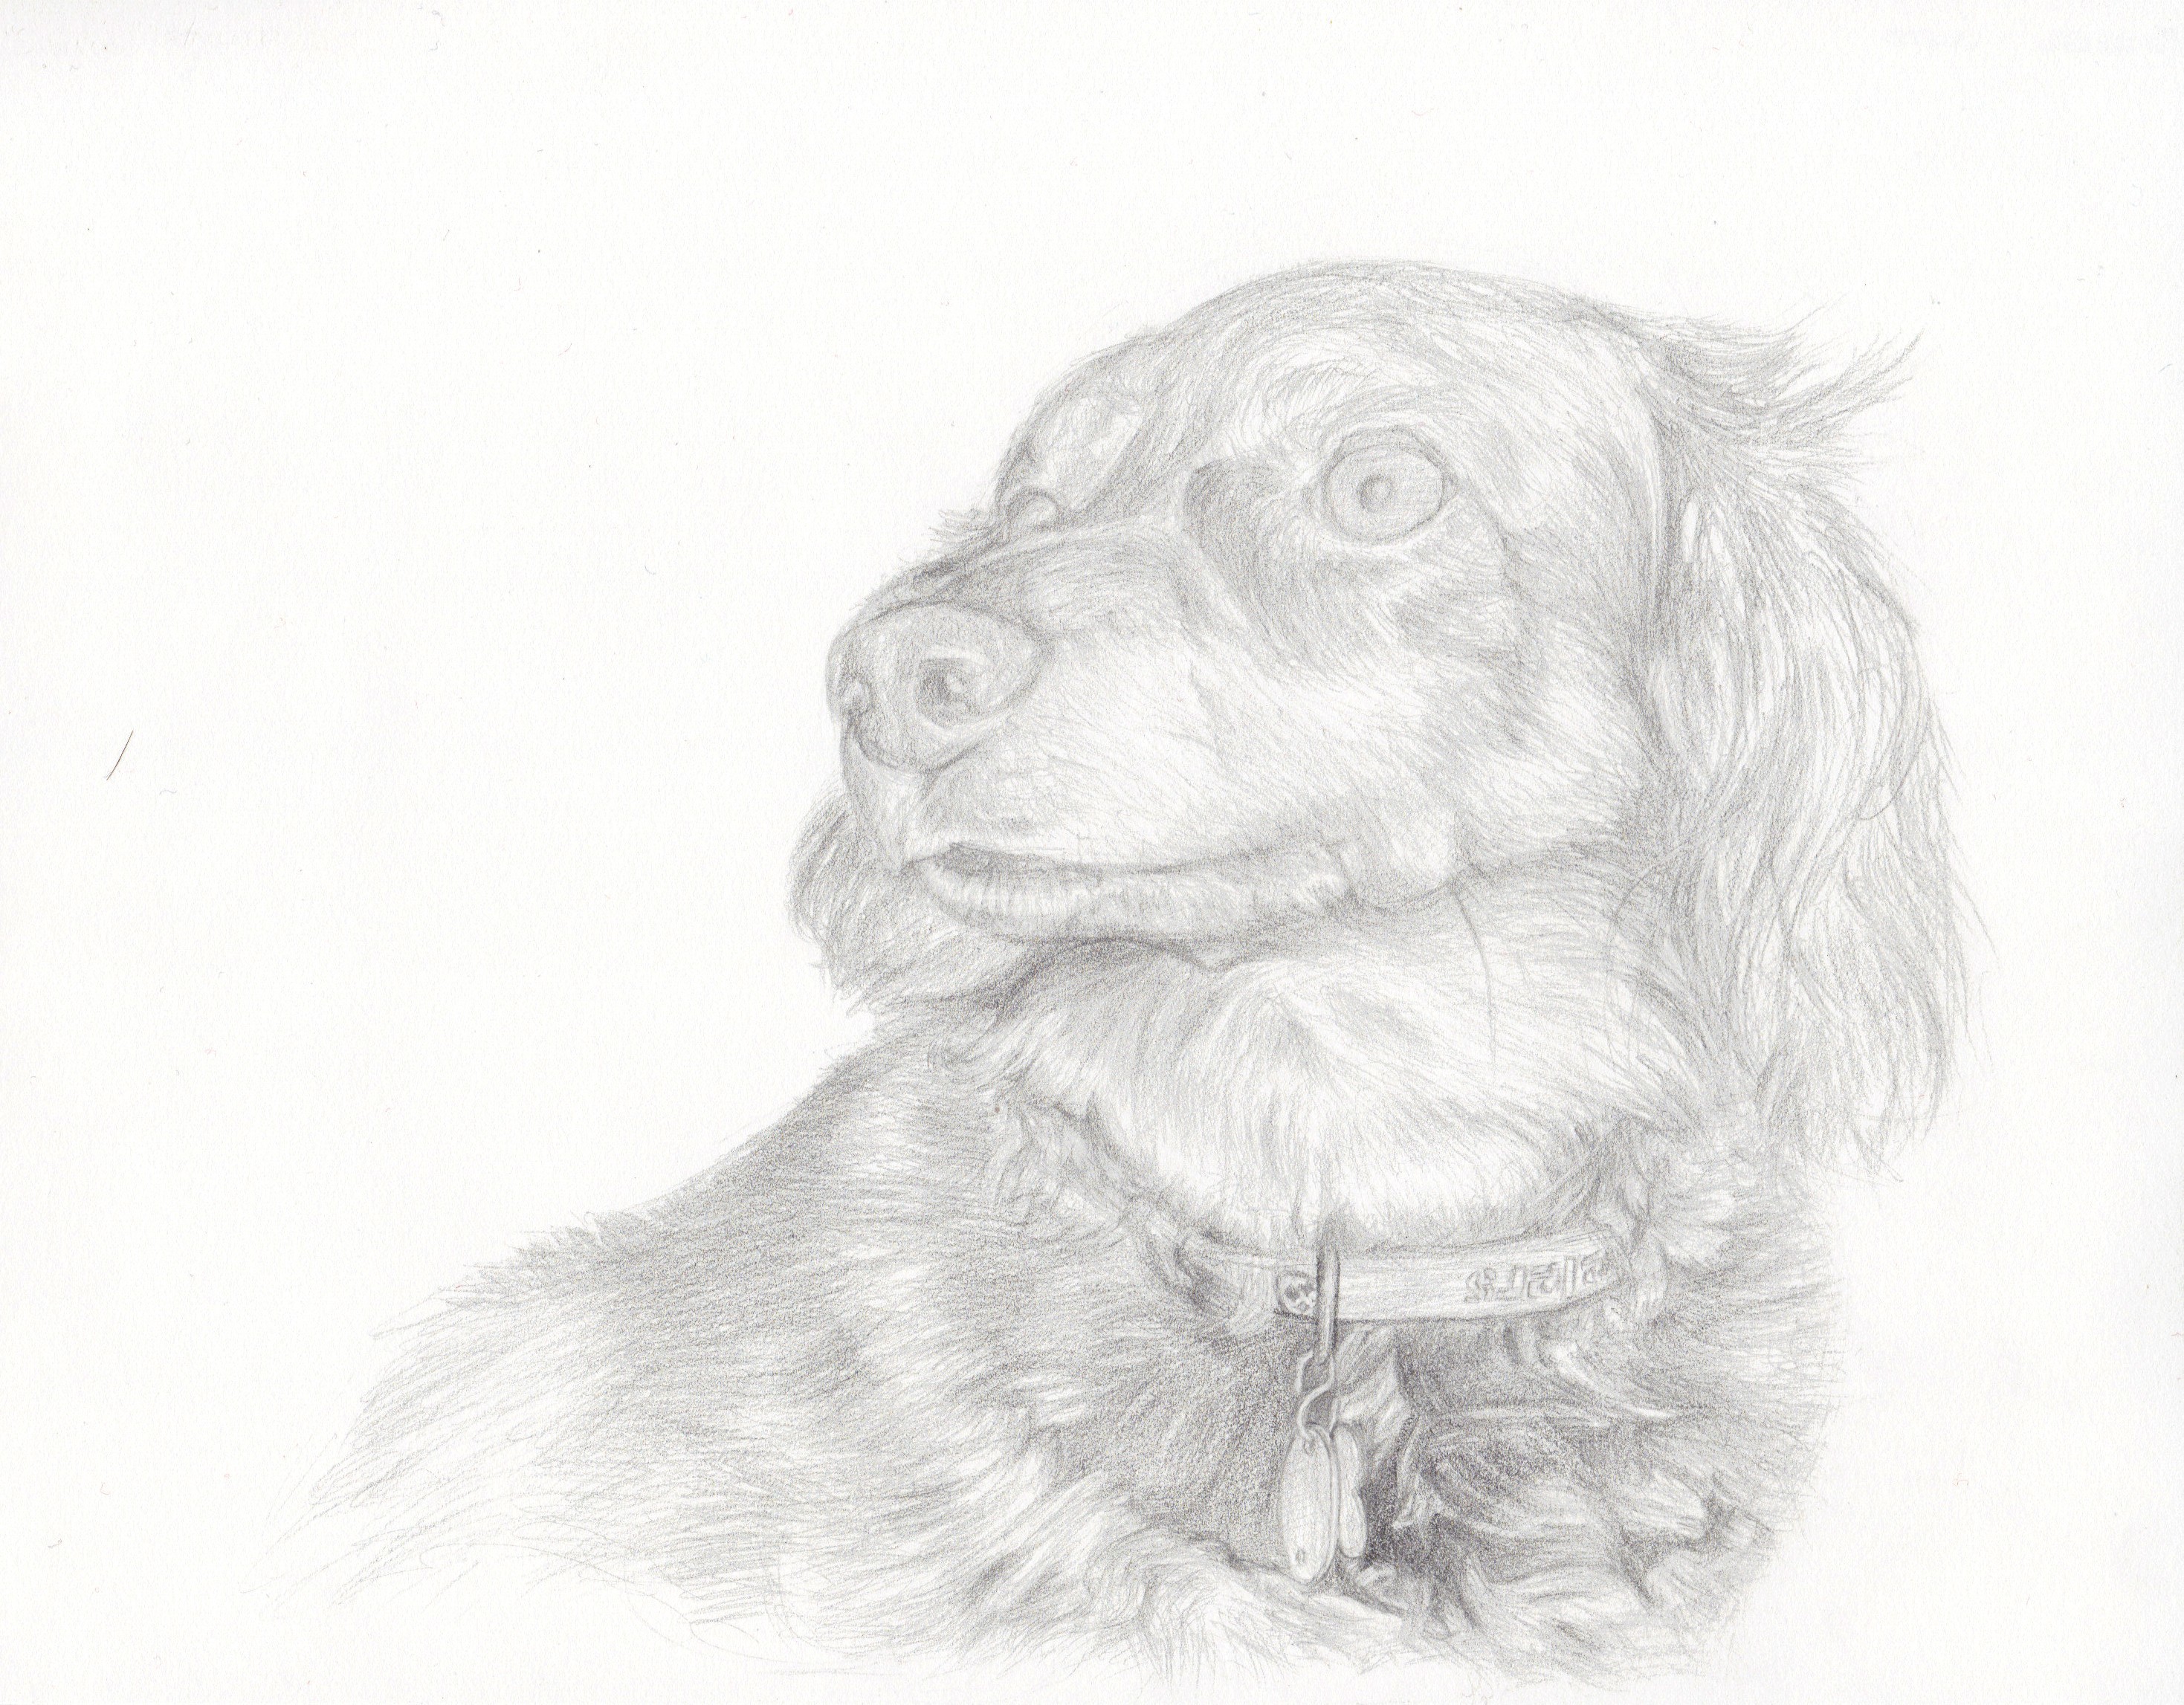
Step 3: Cleaning Up
This is where I erase most traces of the rough sketch, eliminating that really "sketchy" look for this slightly "sketchy" look. I make some of the lines I'm going to keep a little more defined, and get rid of some of the unnecessary.
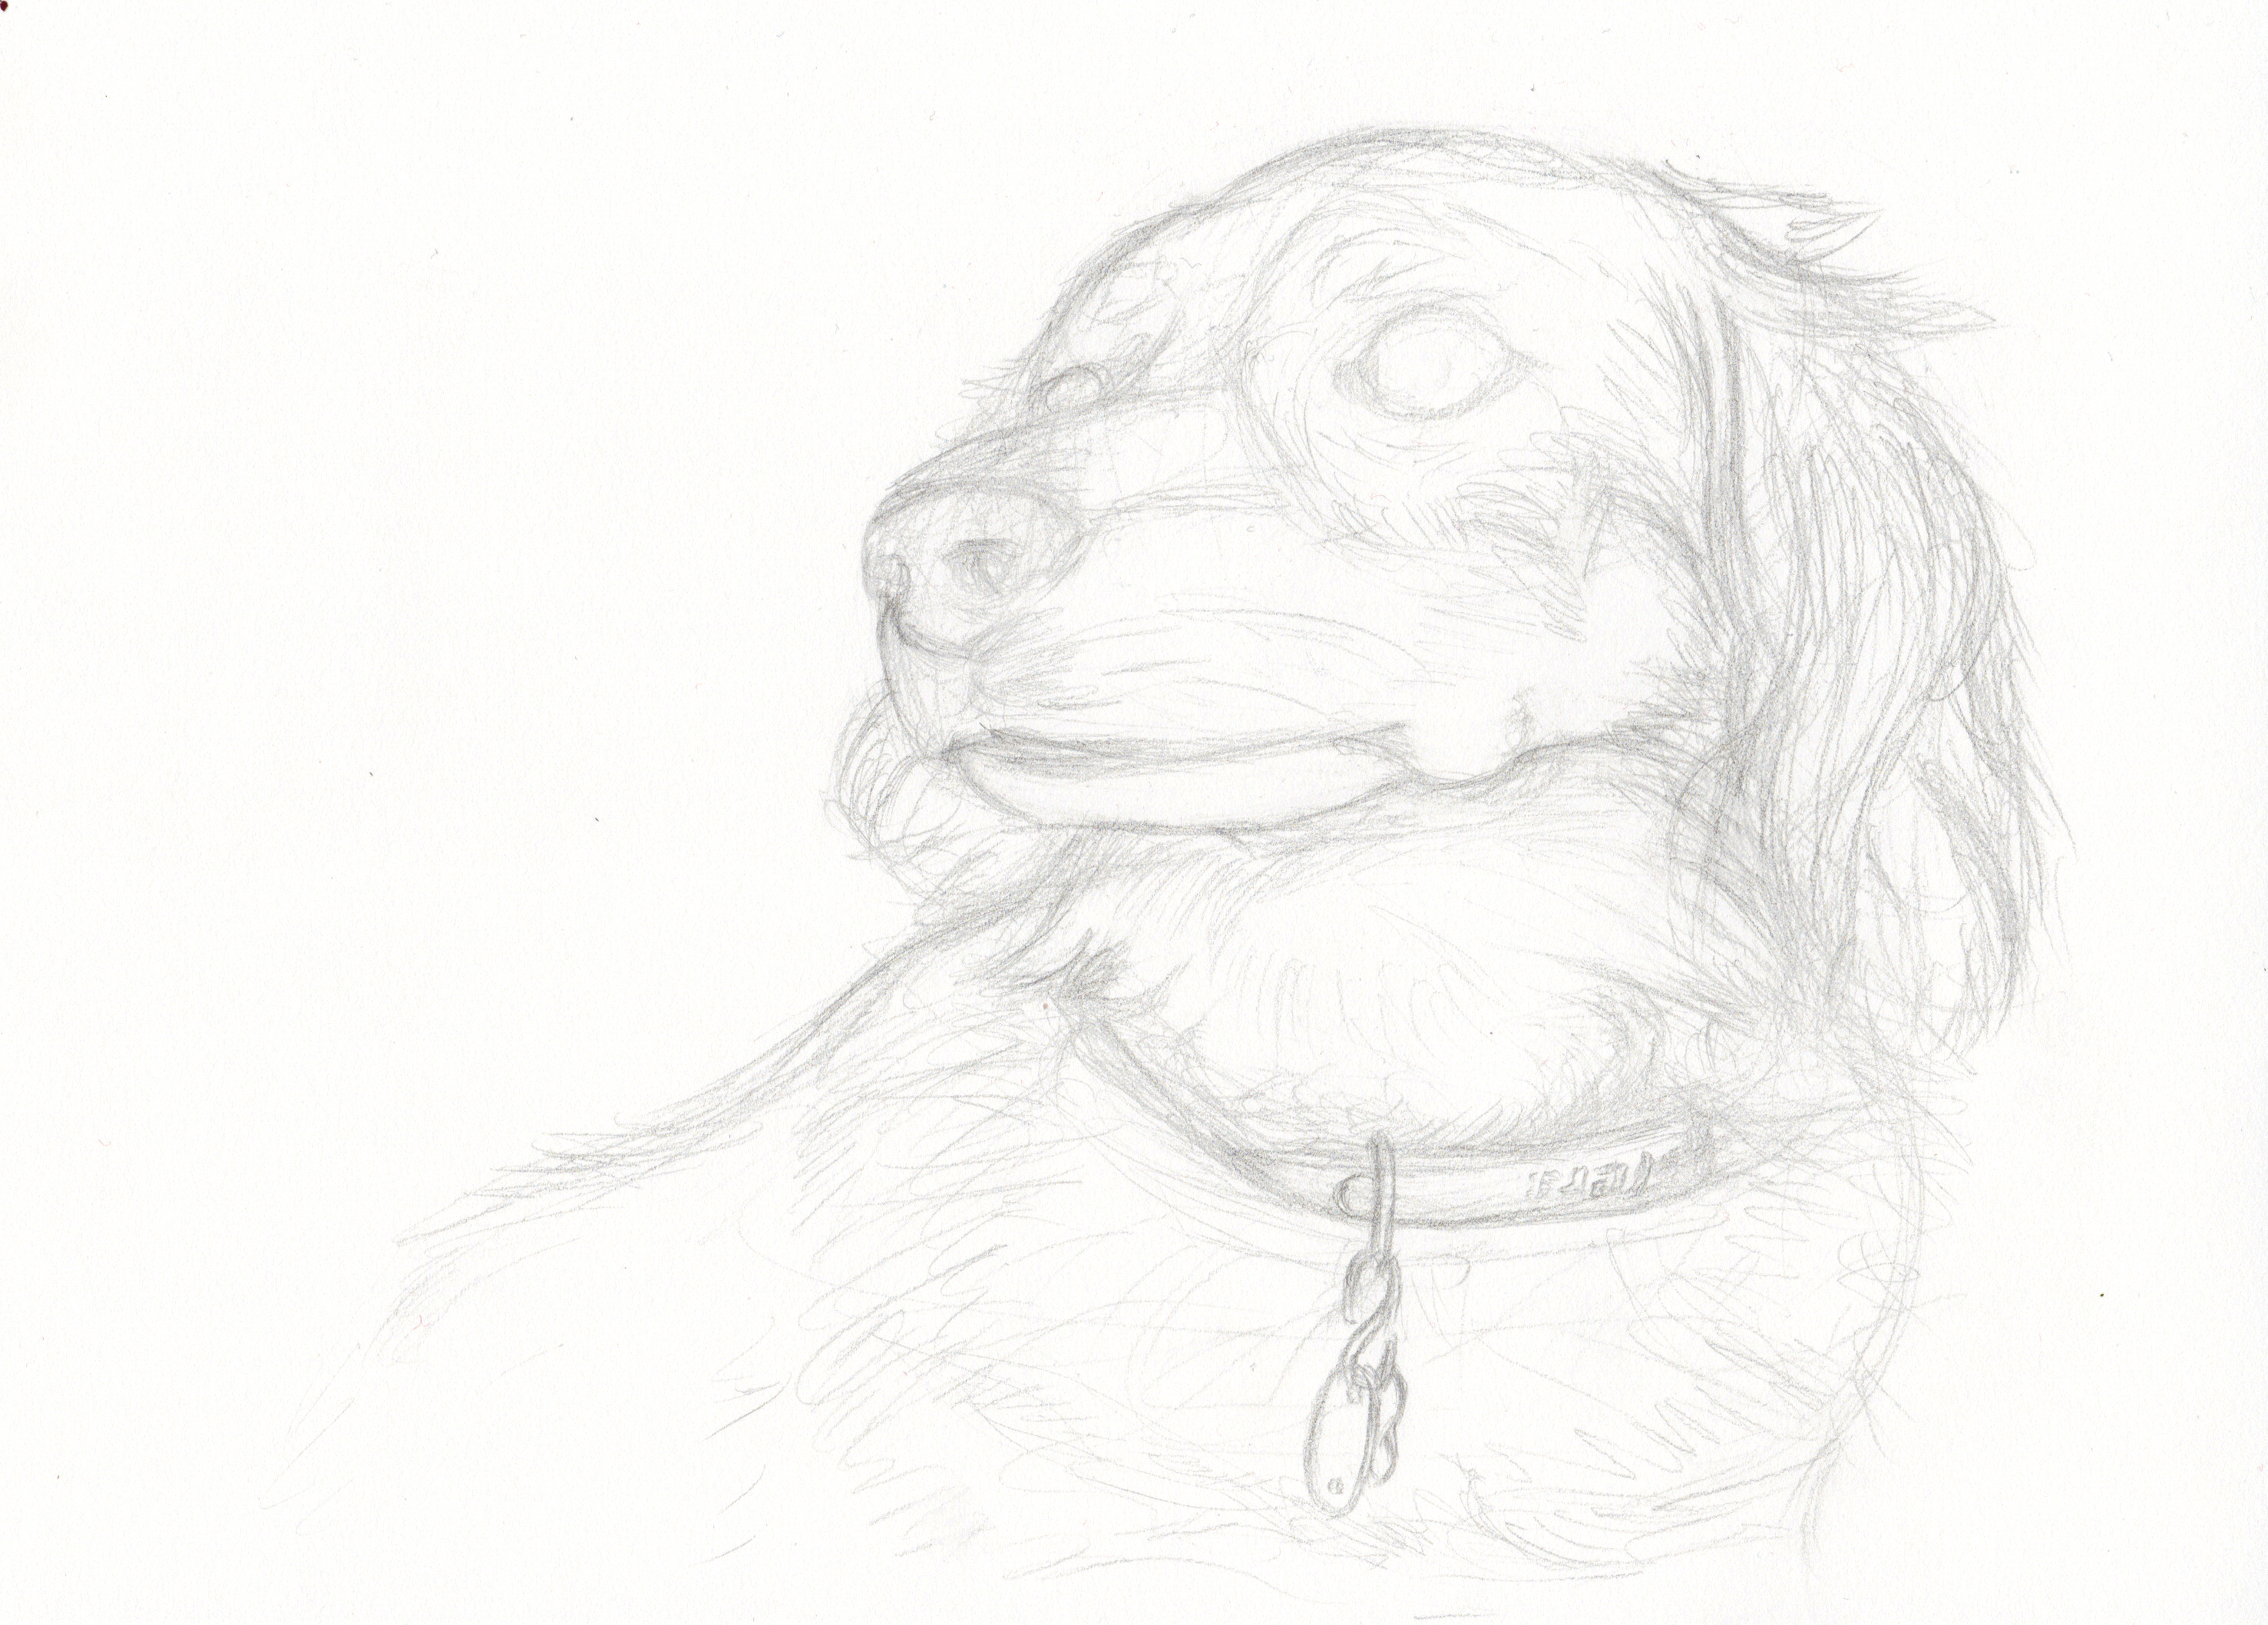
Step 4: Defining
This is where I adjust it even more (most noticable near the dog tags) and then add more detai and define the different locks of fur.
Step 5: Refining
I add the most detail in this step. I add the shading by building up light lines and fur marks, make the nose more defined, fix the collar some, and then finally add pupils. I don't know why but I always do the eyes last (though I on occasion draw the eyes were very first.). I guess it's because it doesn't look right any other time, and that bothers me.
Step 6: Enhancing & Adding Finished Details
This is a fairly new step. Looking back on some of my older work, I'm amazed at how light a lot of it is. This step is basicly taking a darker pencil or two and going over the darker parts and details, maybe adjusting a few small things, and then signing and dating it.
Colored
The process to the colored pictures are pretty much just like the black and white ones up until about step 3 or 4, after which I start using colored pencils instead of a graphite one.
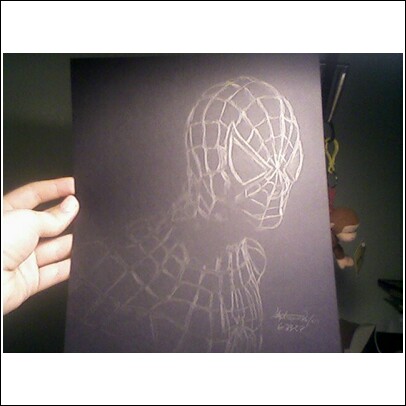
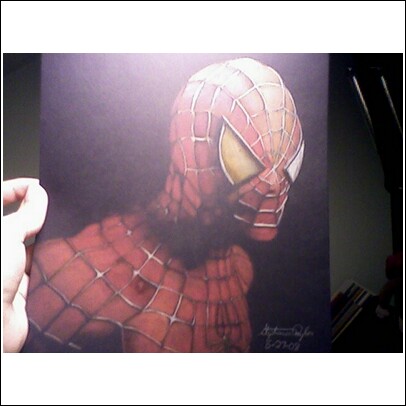
Spiderman (6-23-08)
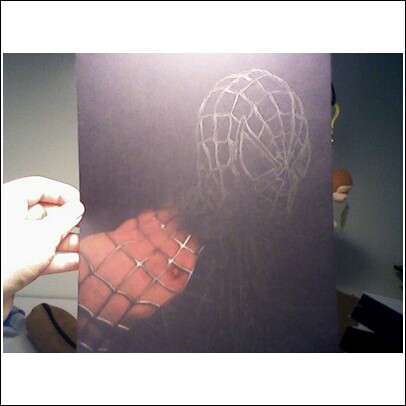
This is kinda the step-by-step process of the first colored Spiderman picture I drew for my friend, under the "My Drawings" tab and "Colored Pictures" subtitle thingy. I took the pictures with my cellphone (I finally figured out how to get the pics off... muahaha! suck it technology!) so they aren't that great, and I took the pictures between sections so... Well, it's all I have so deal with it. And, that is my albino hand in all the shots, so technically I'm in these pictures.
Step 1: The Sketch
This is basicly steps 1-3 under the "Black & White" drawing process. Just a little cleaner between the squares. And, I marked where I was going to sign it.
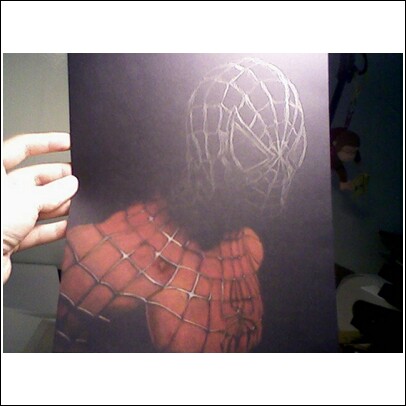
Step 2: Section One - Shoulder
This is the one step that I will describe how I actually went about doing this, in a vain attempt to be less repetitive. I colored in the boxes with red and then built up the color with orange, white, and more red, until it was the same shade it was in the reference photo that I'm sure you can find if you google deep enough. Then, I erased around the box to get rid of any smeared color and put the white in between them, one row at a time.
Unfortunately, there was an issue with the paper, whether it was made like that or it came from my stupidity is beyond me (but I can assure you my stupidity made it worse). I tried to cover it up but it wouldn't hold any pigment, so after ruining it worse with lipstick or something, I just put a dab of paint on it. It's supposedly not that noticible, but its on the last row, 3 (or 4 if you count the darker one) boxes up.
Step 3: Section Two - Chest
This step was actually rather annoying. I dunno, all the little tiny boxes just made my eyes sad. The spider was done with more brown than the other squares. All of the other squared around the spider were done just as in the last step.
Step 4: Section Three - Left Eye
This goes just as the other ones, only the eye is treated as its own big special box. It's the same basic thing, only with yellow, white, and orange.
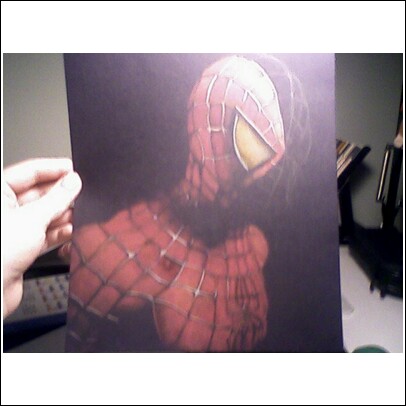
Step 5: Section Four - Right Eye
This is where I finish the upper right side of his face, doing again of course the same thing as before, just with more white and orange mixed in than previous steps.
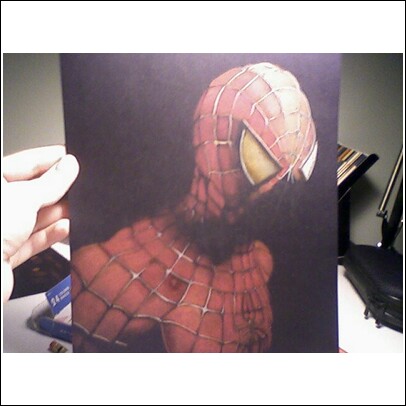
Step 6: Section Five - Chin & Finished
This is where I finish up the chin section, then I rewrite my name neater in white pencil.
The Painting Process
The painting process is pretty much like the colored drawings only more time consuming and in most cases more detailed and more in-depth. They all start with the basic sketch and the buttload of revising like the drawings, just less detailed (unless I get out of hand.. which I do sometimes do in my pre-painting sketches). Then, I usually paint a section of it one color, and then build up from there.
I have virtually nothing in here just yet because these are more time consuming, and I have a difficult time sticking to one project before I think of something different to do, but I'm working on stuff so I'm just going to upload the works-in-progress in the meantime.
Pastel
Making a pastel picture is a difficult thing for me. Doing the picture itself is no problem, it's actually kinda fun and easy, but finishing them is very difficult. I always get distracted and forget about them because I store the unfinished ones under the white posterboard on my desk. Aside from that, I like working with pastels. I get to gradually build up the color, and then sometimes I'll use charcoal pencils for highlights and dark outlines.
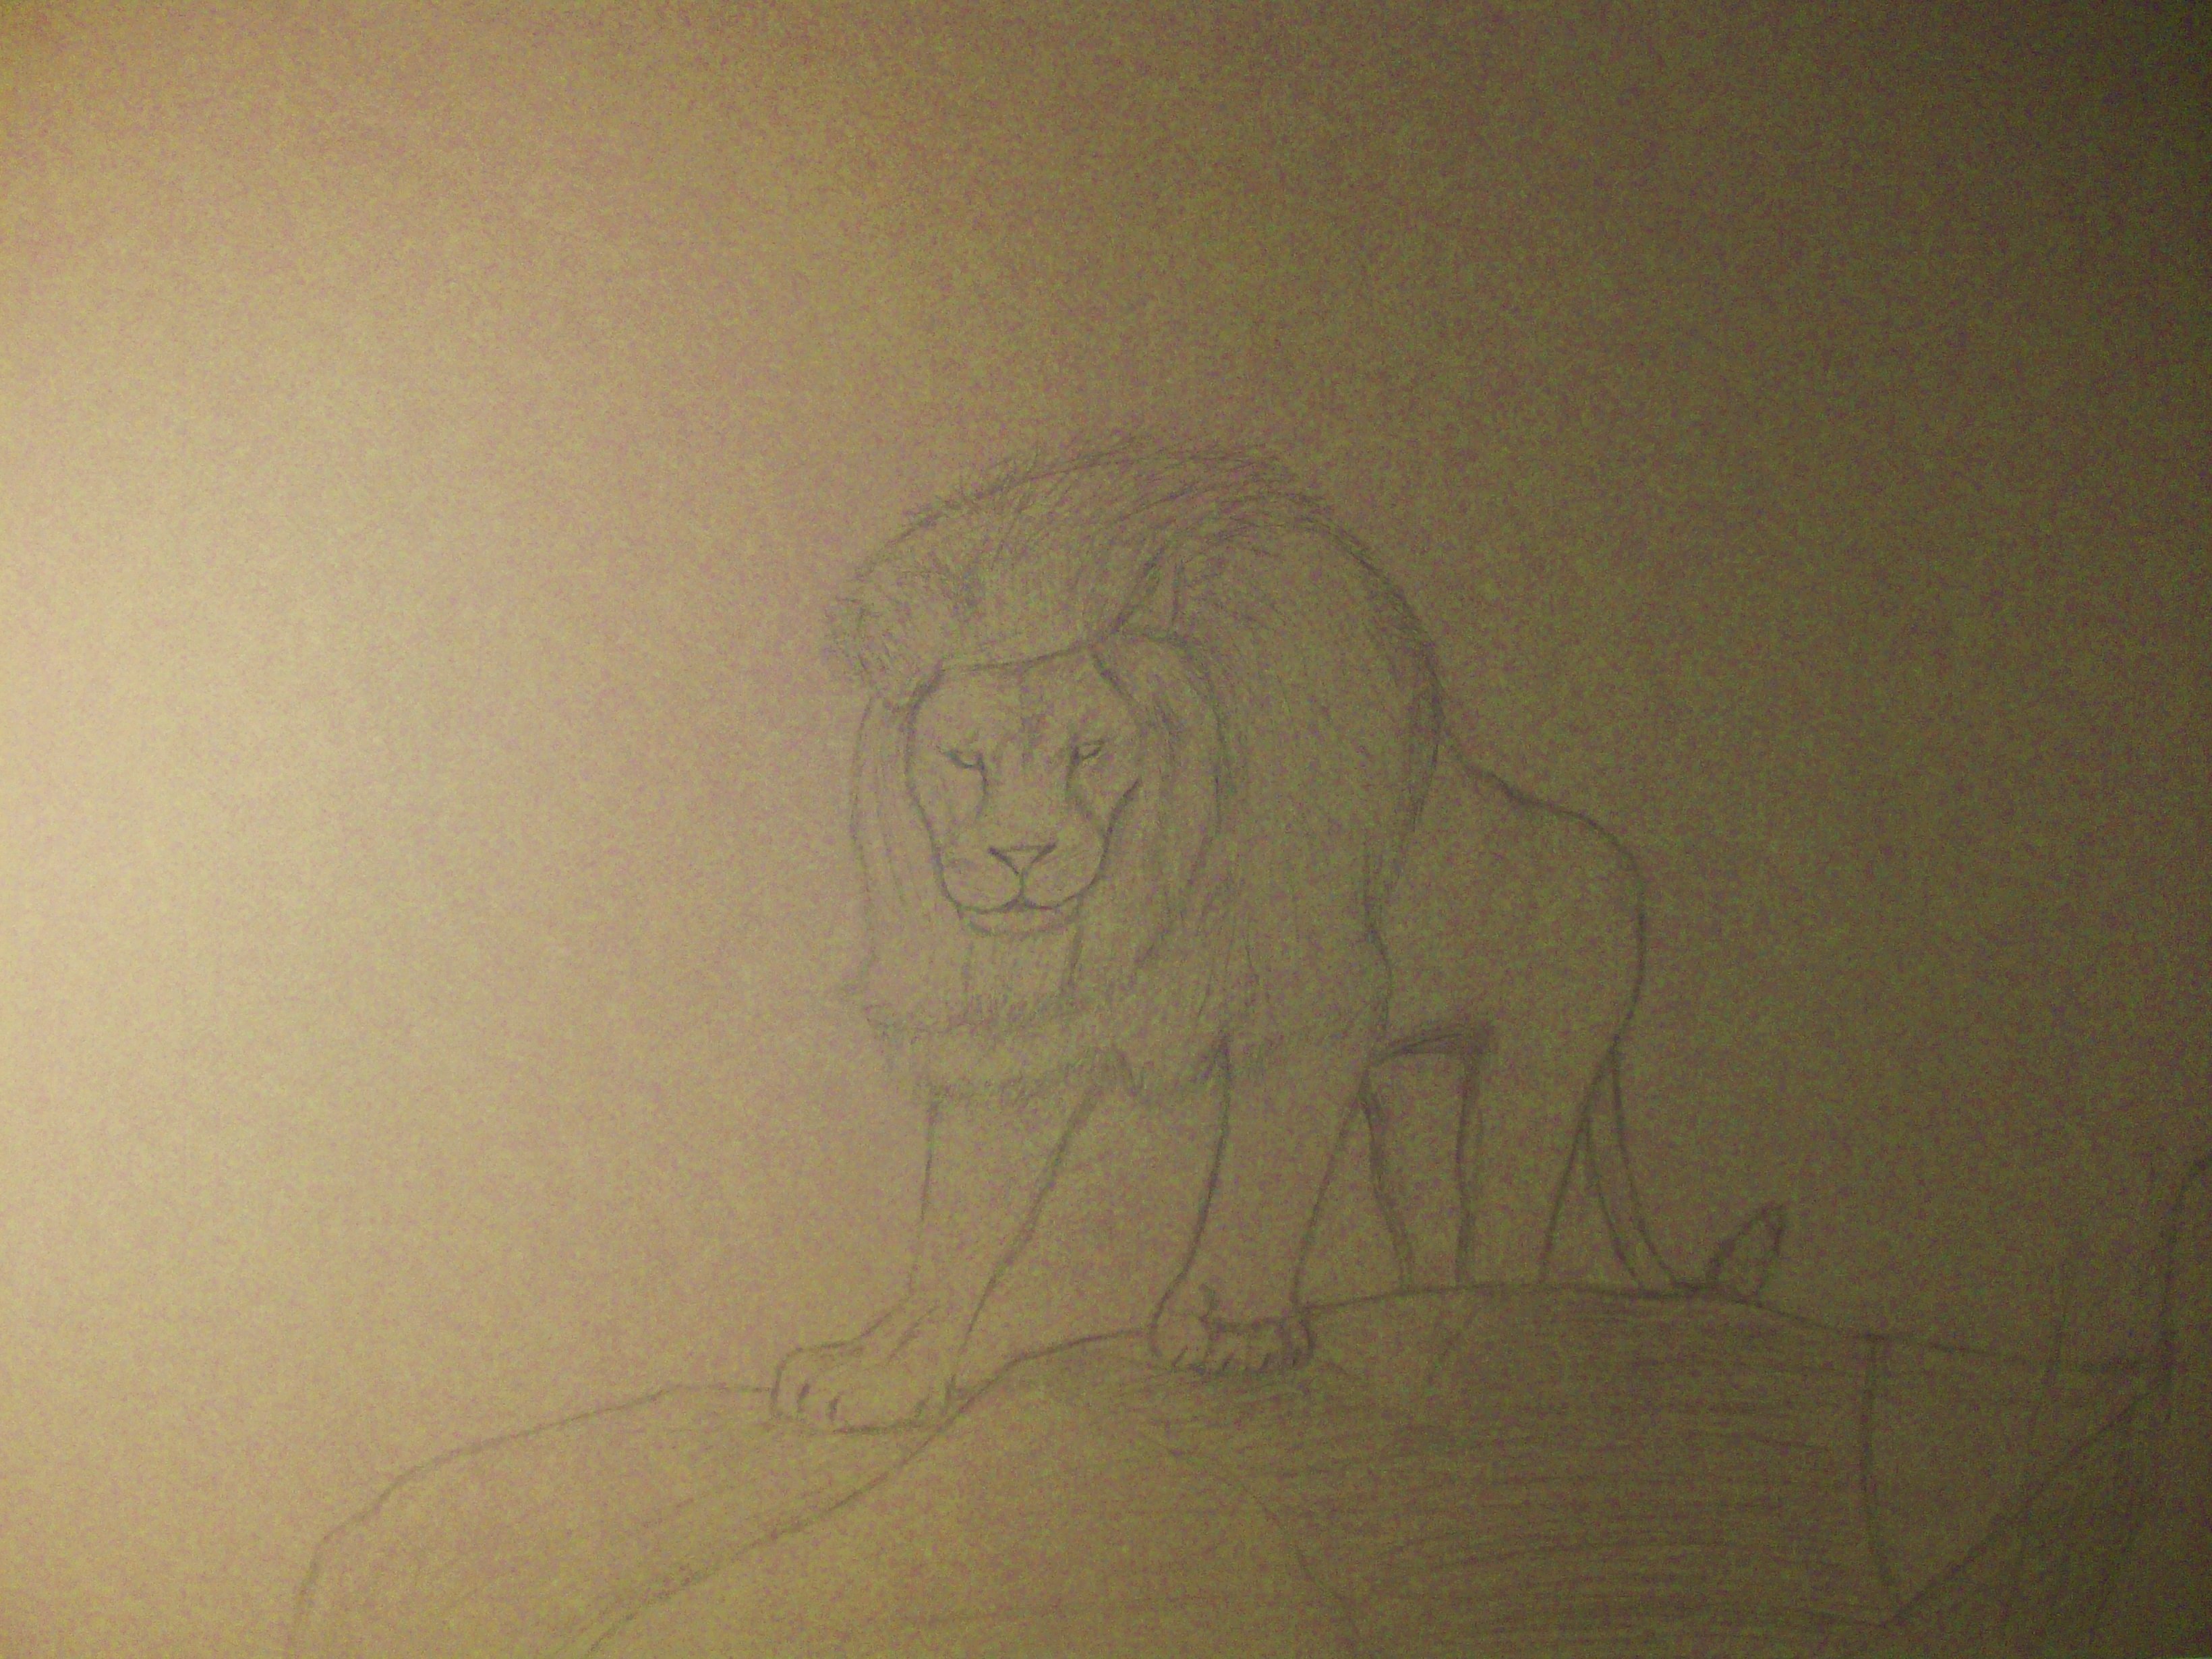
Lion On Rocks (Not Yet Completed)
This is actually more of what I have done on a work in progress for a few reasons. First: I've never really taken the care to document step-by-step in my other (very few) pastel pictures, and two: I haven't had time to work on it like I had planned. Well, a little about the piece in progress: I decided to do this after looking through some photos that I was so kindly given to by a woman who works and taught at my school. She has connections to the zoo and got the photos. There were some pretty nice animal pictures in there so expect to see more of them up as soon as I get off my lazy badonka-donk.
These are photos of the process, and they have been editted to match the color of the poster paper. Not only do we have a crappy camera, but I don't know how to work most things technological so... it's just a really bad relationship, and the epitome of why I draw instead of simply taking pictures.
Step 1: The Sketch
This is the sketch, steps 1-3 under "Black & White."
Step 2:
This is where I highlight some of the features... around the eyes, the cheeks, mouth, and muzzle.
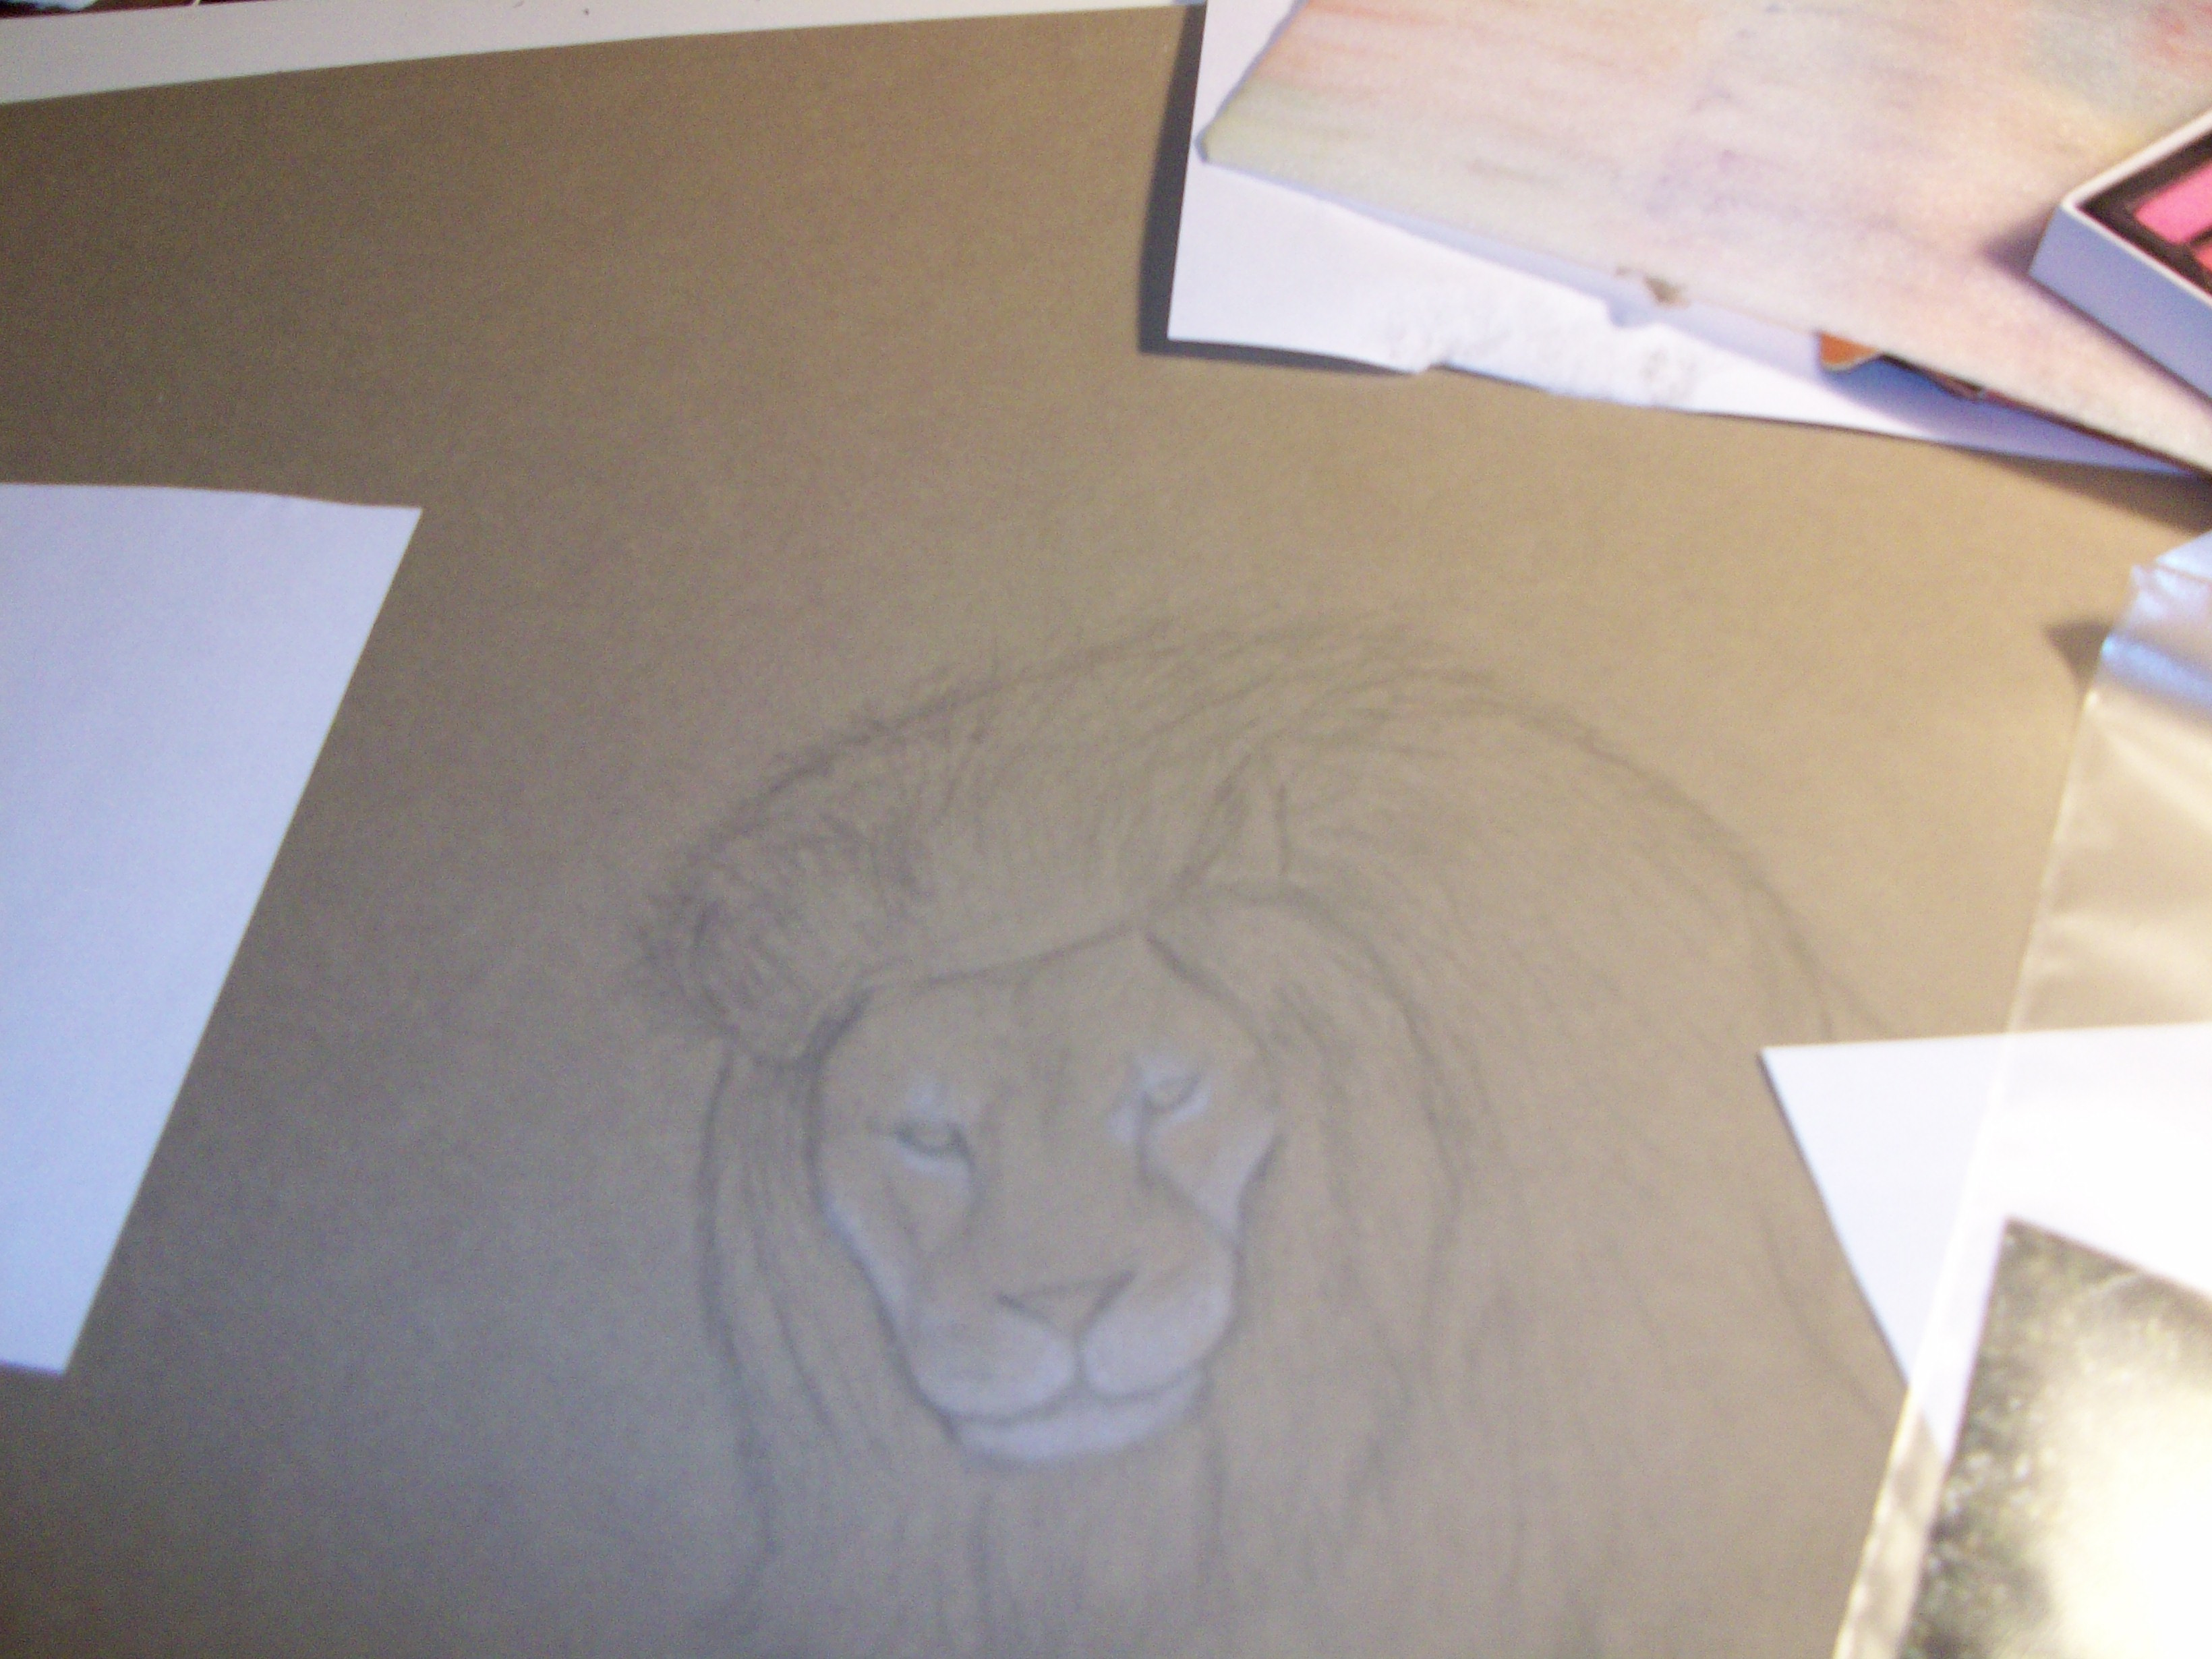
Step 3:
This is where I put some tan over most of the white, namely around the eyes and muzzle and I believe the cheeks as well. I wish the pictures came out better.
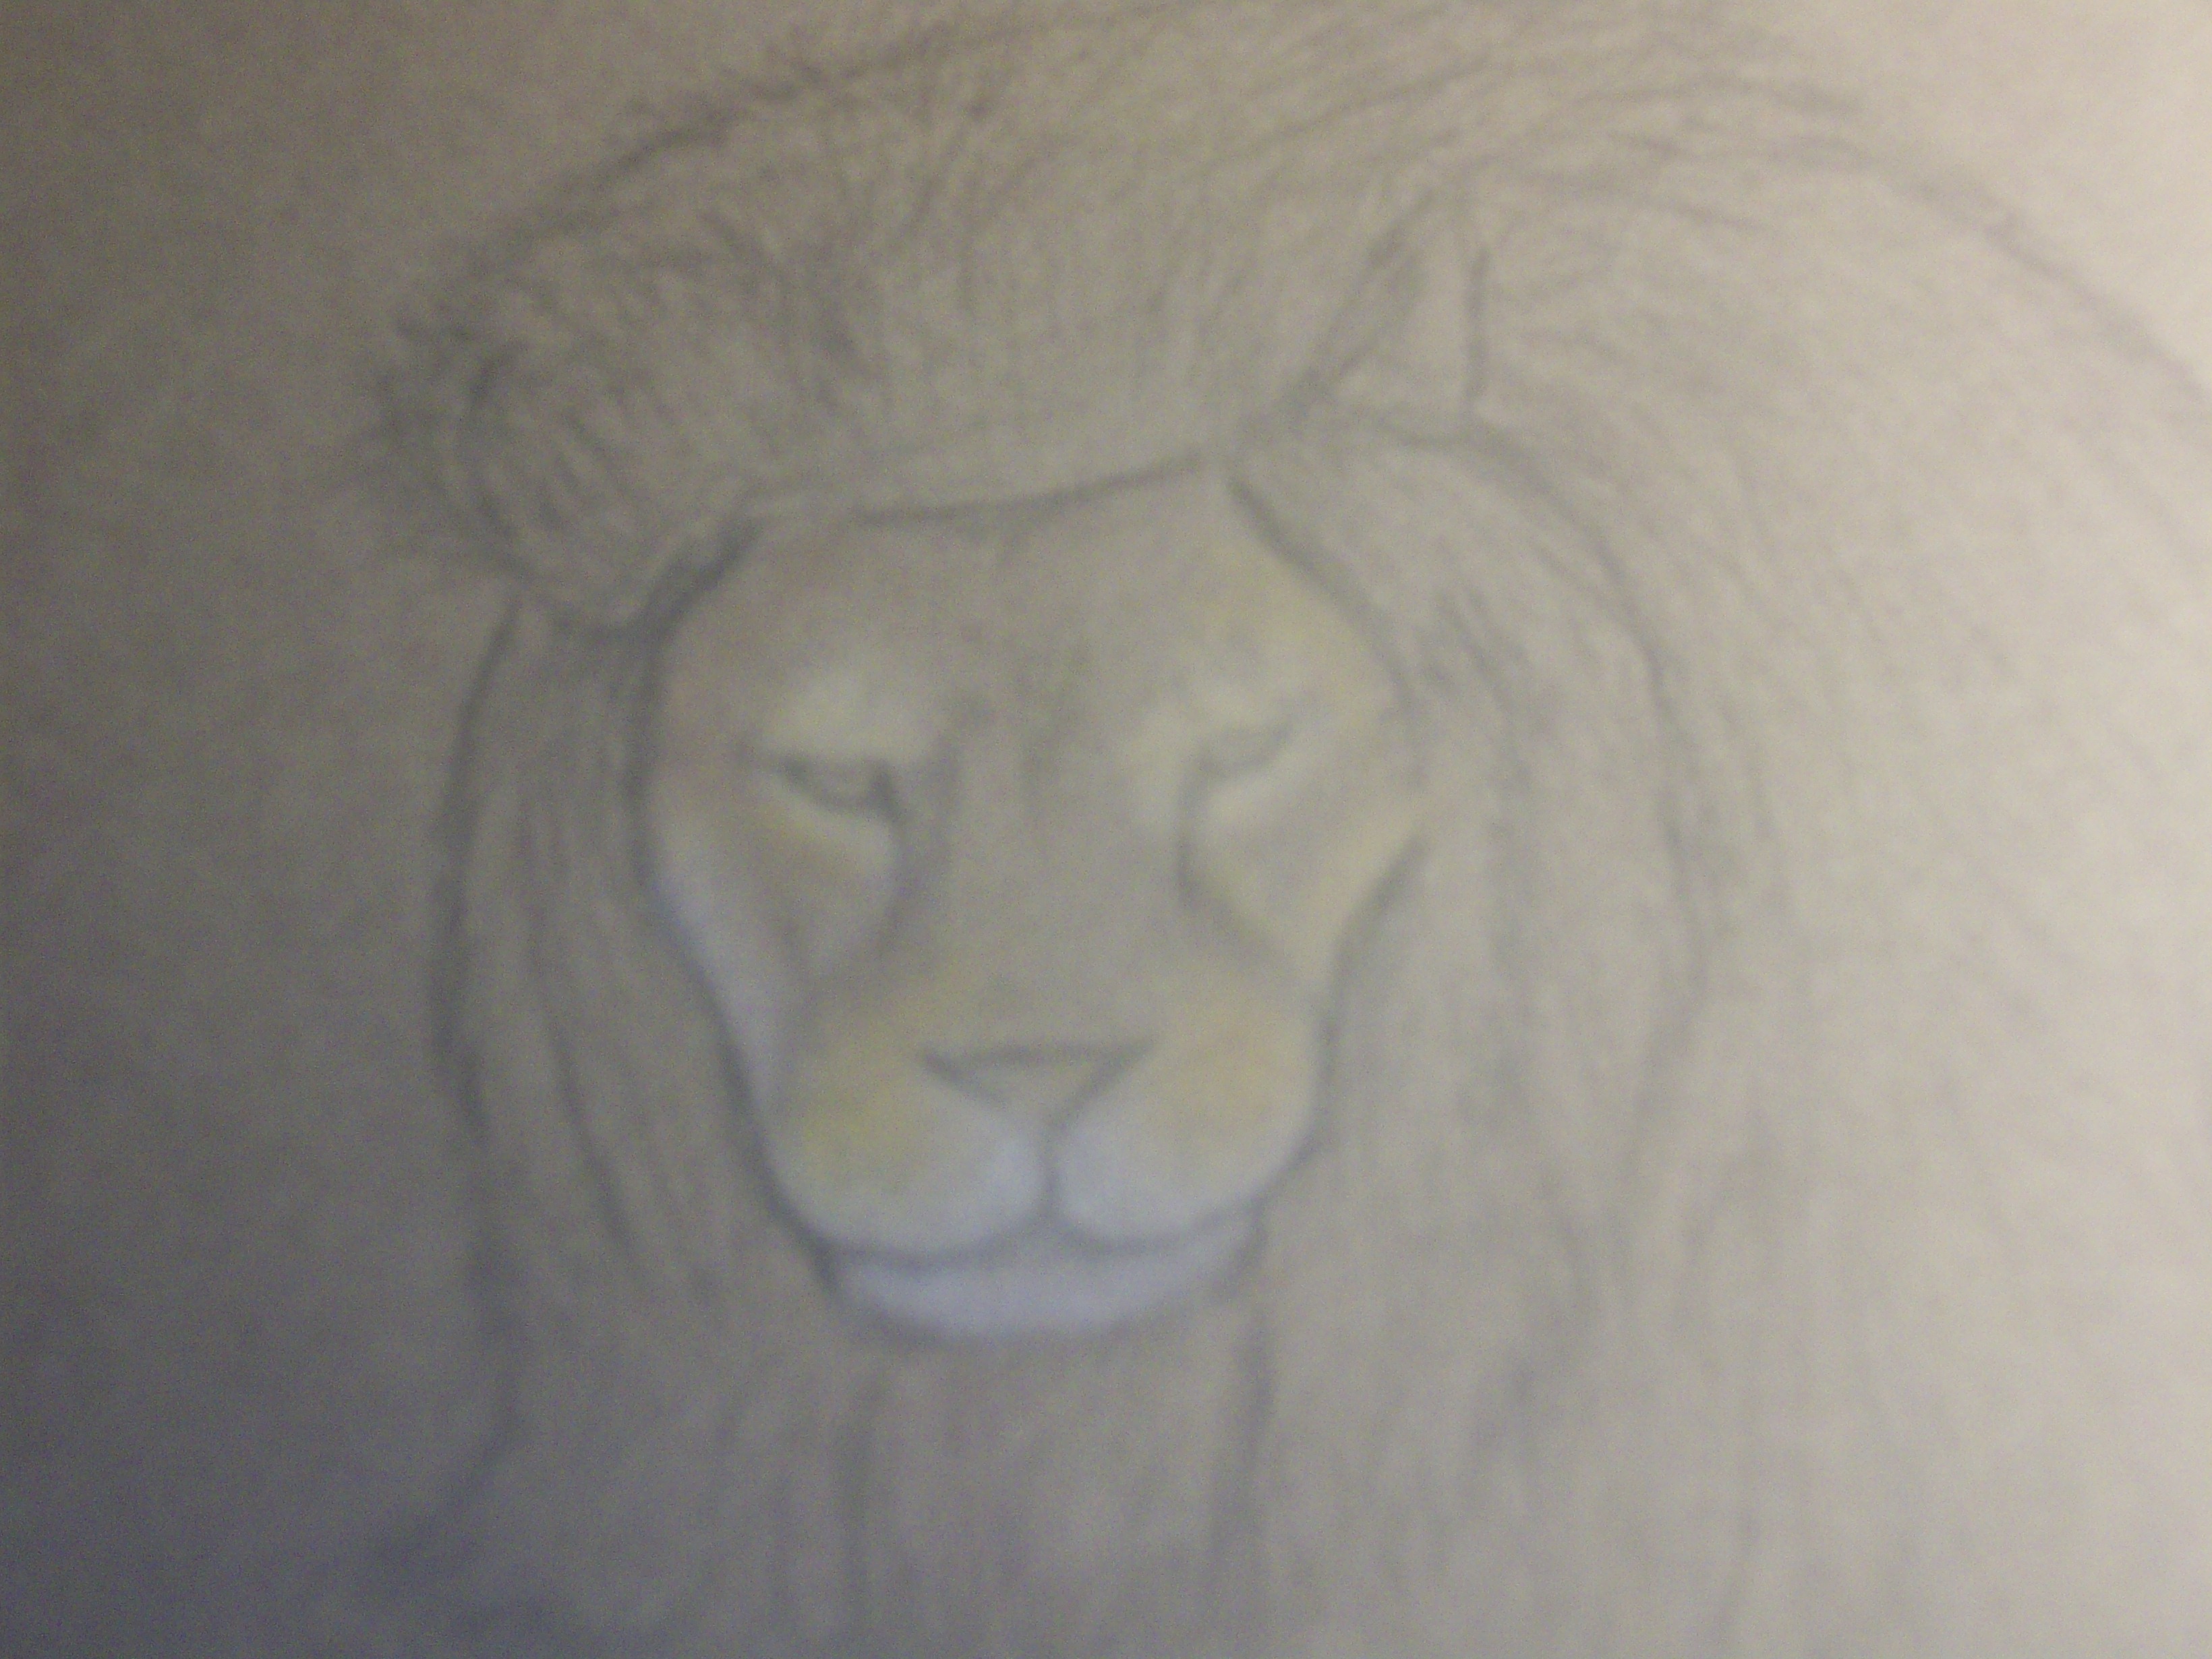
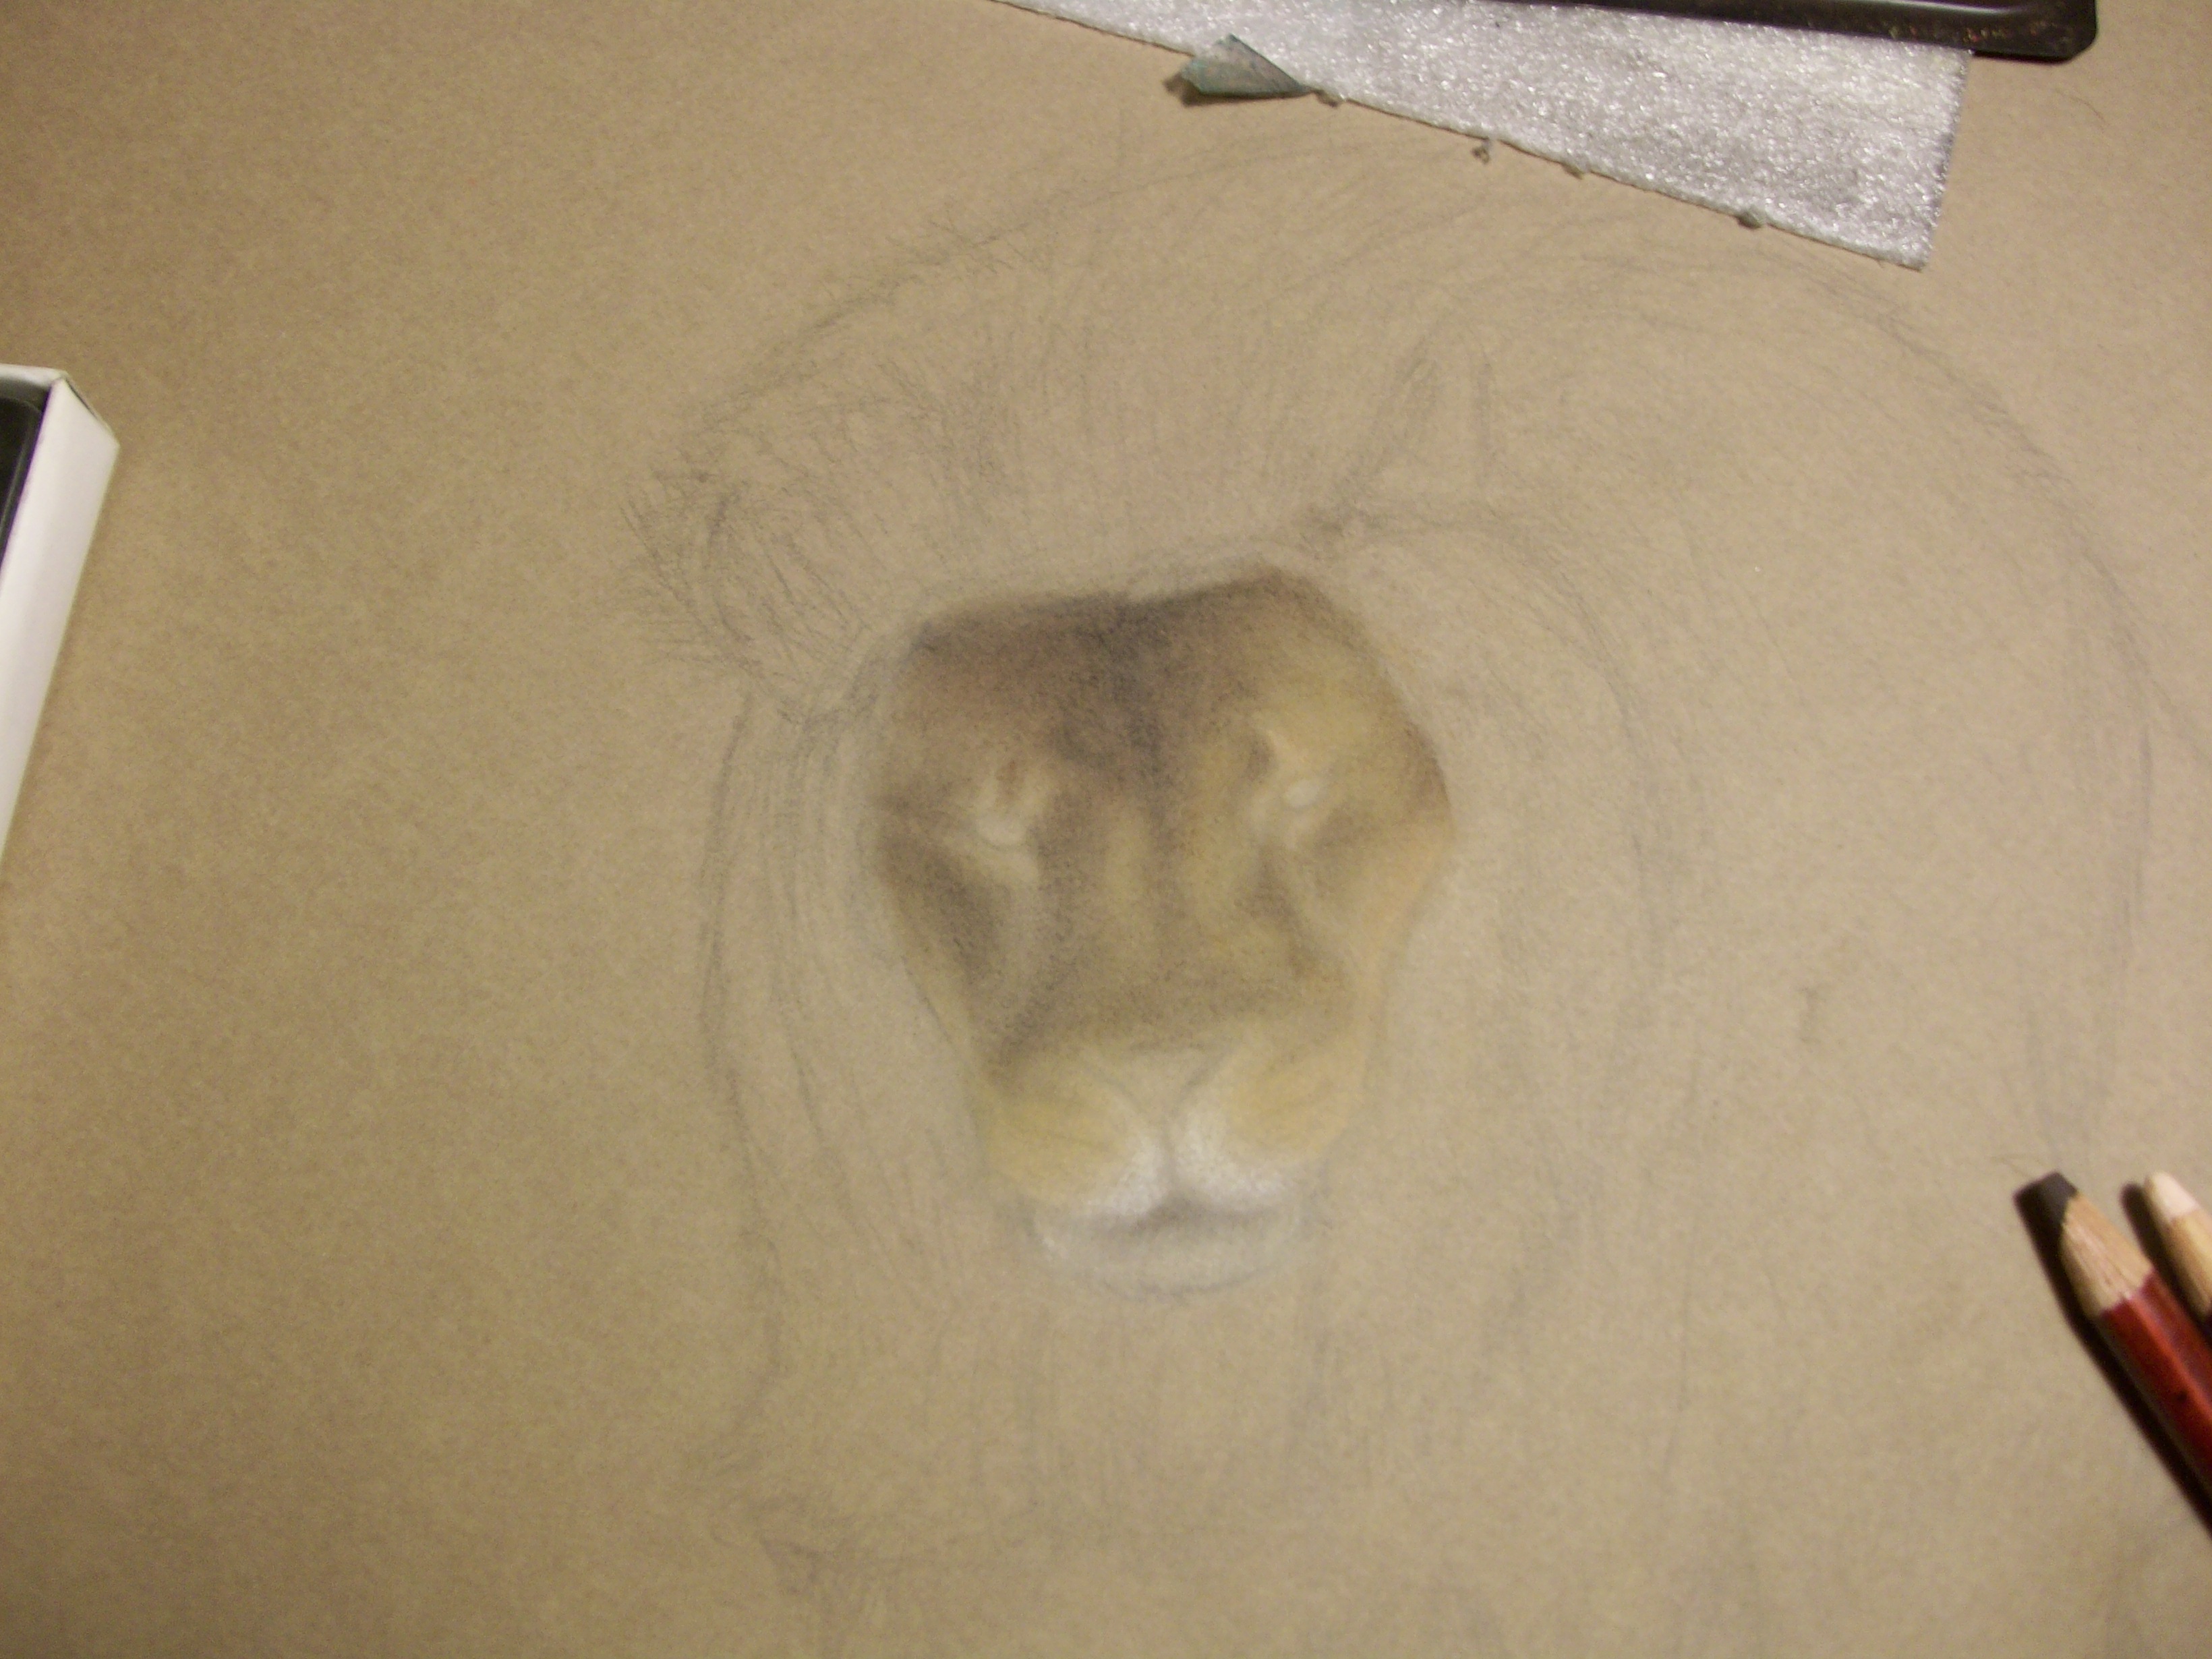
Step 4:
I'm pretty sure I skipped a step here, but I did this so long ago that I don't remember. I'm pretty sure I put a darker tan over the rest of the face, and then darkened it with browns and blacks and some burgandy around the edges of the mane, cheek bones, and nose bridge.
Step 5:
This is where I may be at now... Although I'm almost certain I did do the nose before I stopped. I'm too lazy to go through my stack of papers and check to be sure but.... This step is where I focussed on the other aspects of his face, his mouth (which if you look is darker), his nose, and eventually his eyes.
Step 6: To Be Continued... o.O
This is kind of a temporarily indefinitely abandoned project now. I know. I have no attention span. You can yell at me all you want but odds are I'll see a shiny and be too distracted to listen. Well, when I do get around to finishing this, I'll draw in the nose and eyes, and then repeat steps 2-5 for the lion's body and then do the mane and the background.
Acrylic
Because I can't always be carrying around a camera with me in school, I was unable to document my Lincoln and Leaf painting (not like I probably would have anyways). Now that I'm working on personal projects though, I can. In the meantime, some pictures from another work in progress.
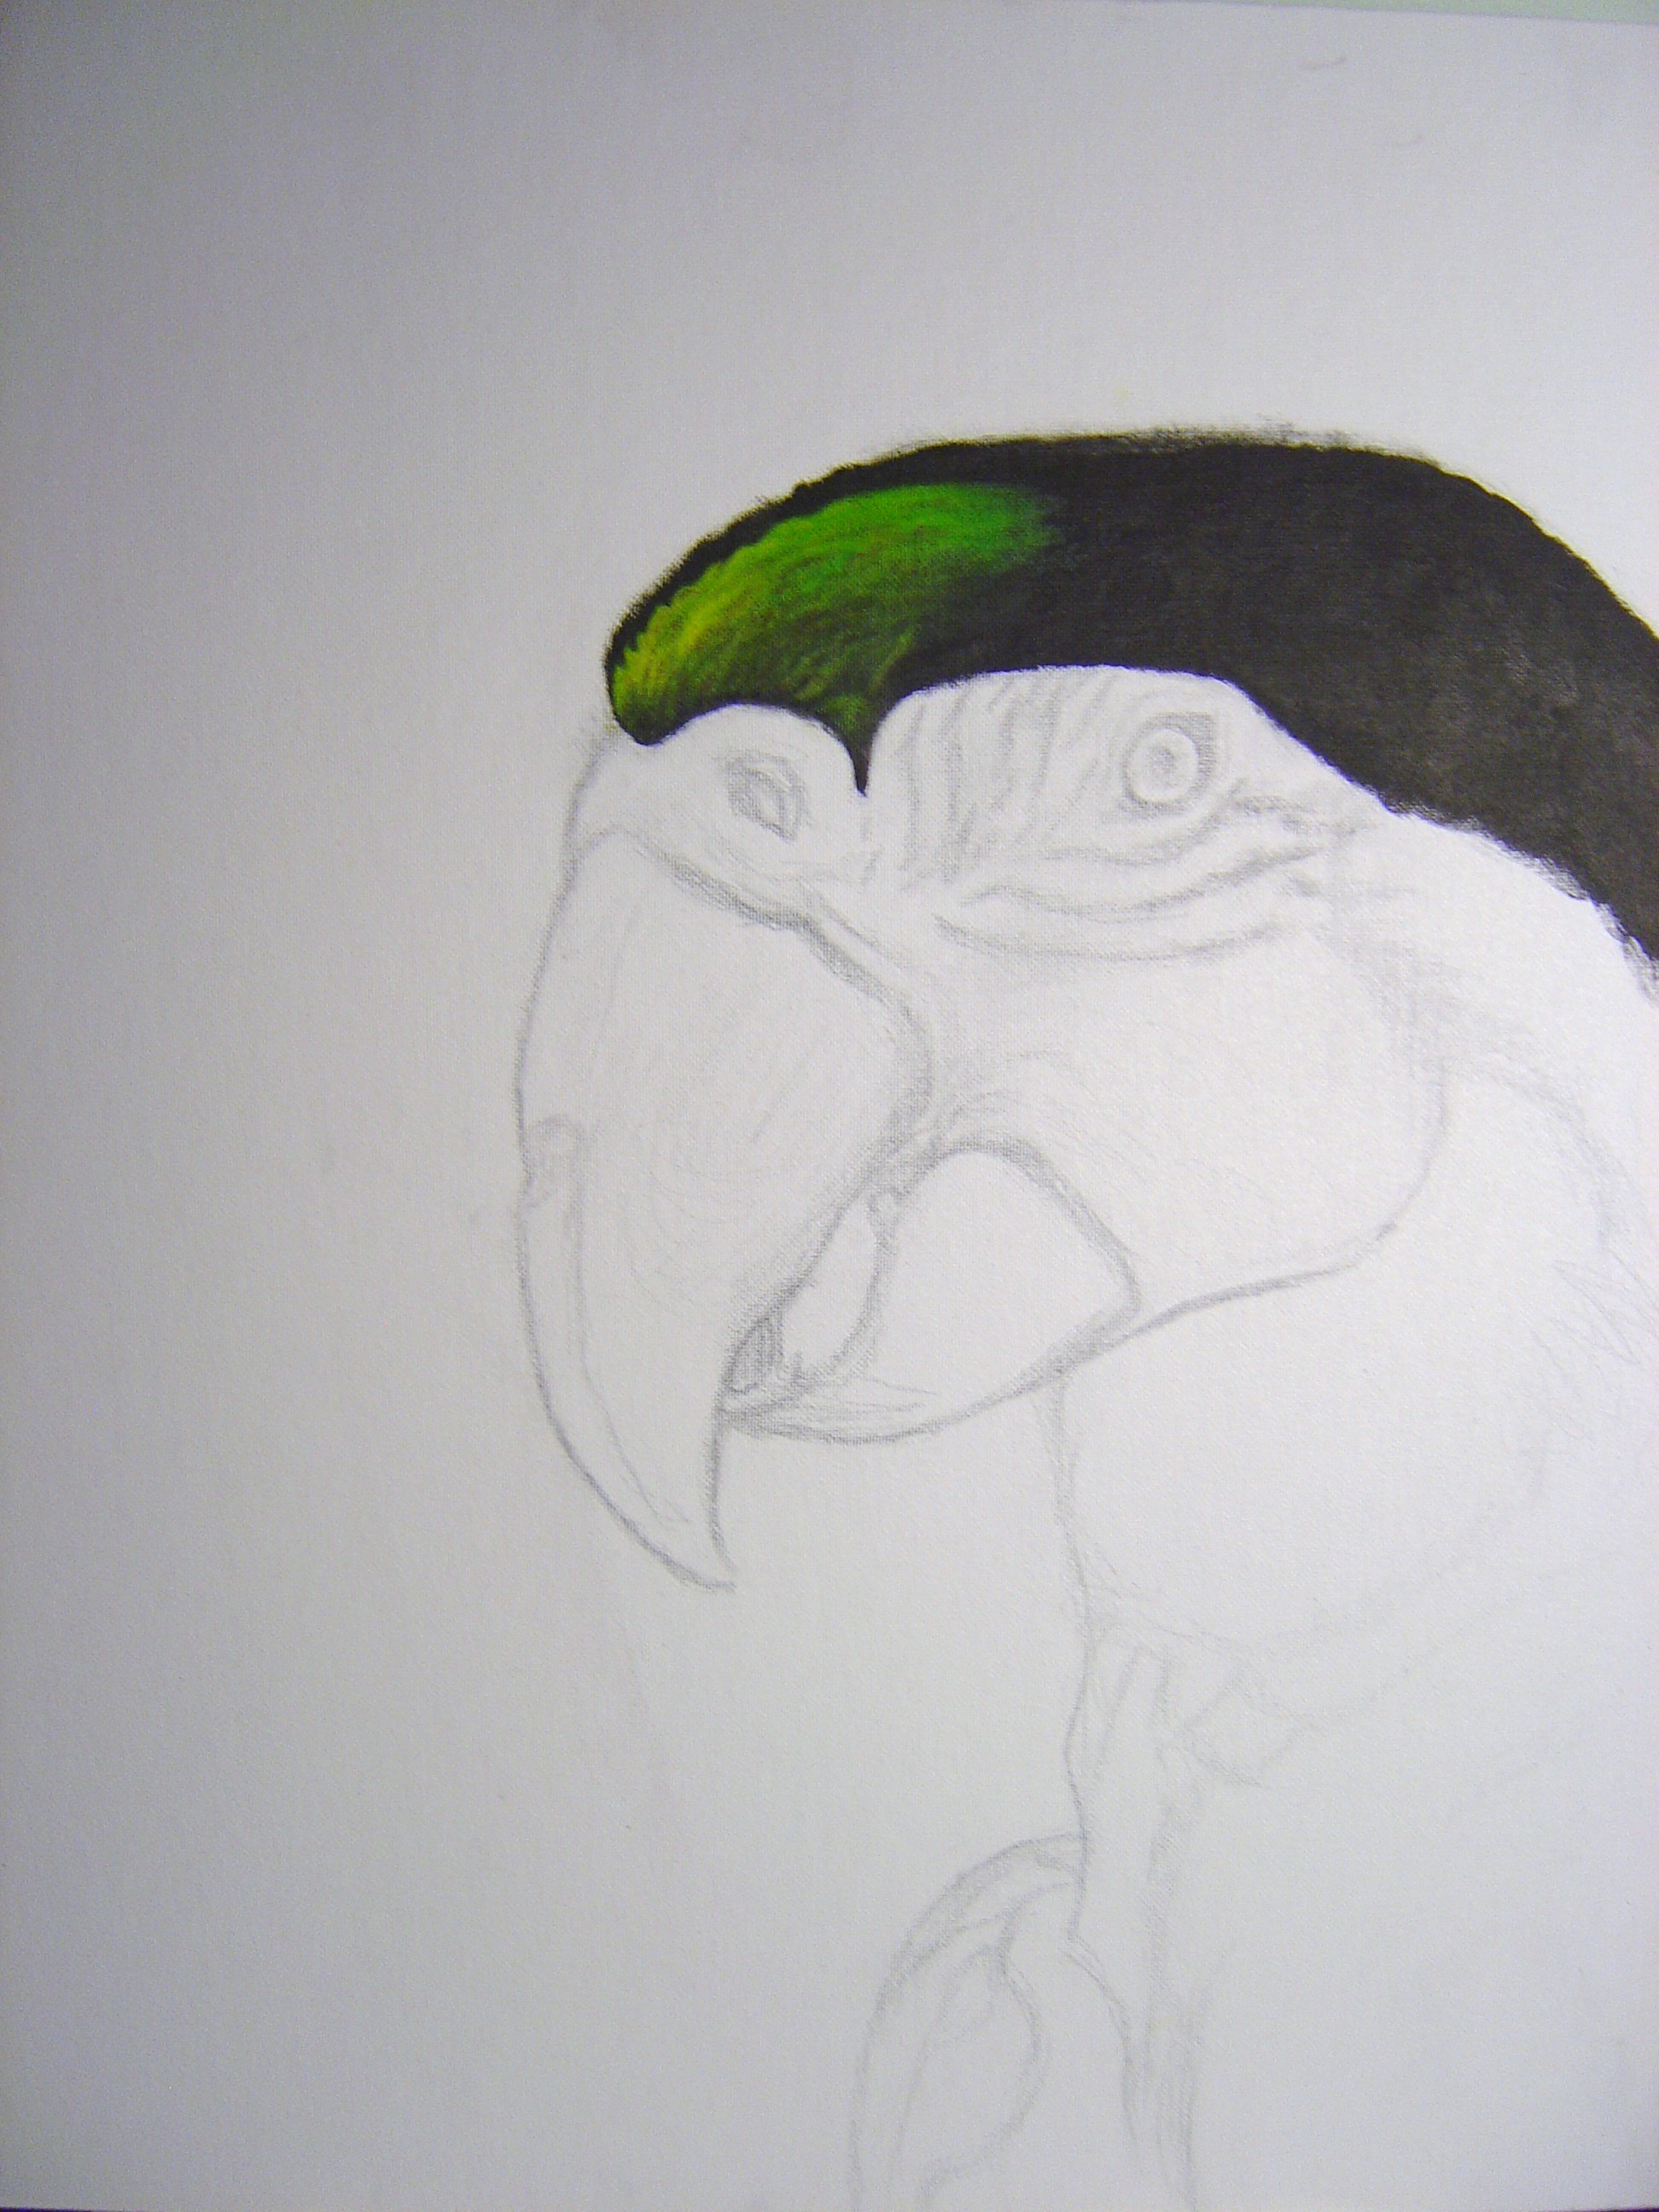
Parrot (Not Yet Completed)
This is another work-in-progress I will never ever finish. I decided to do it after I had realized I hadn't really achieved anything major artisticly over the summer. This frustrated me, so I decided to go through some of the pictures I had saved on my computer and looked for a reference. I really liked this one, but I dont have the link to the site I got it off of. In the corner of the reference is Worth1000 though, so please, Worth1000 and/or the original owner, don't sue me.
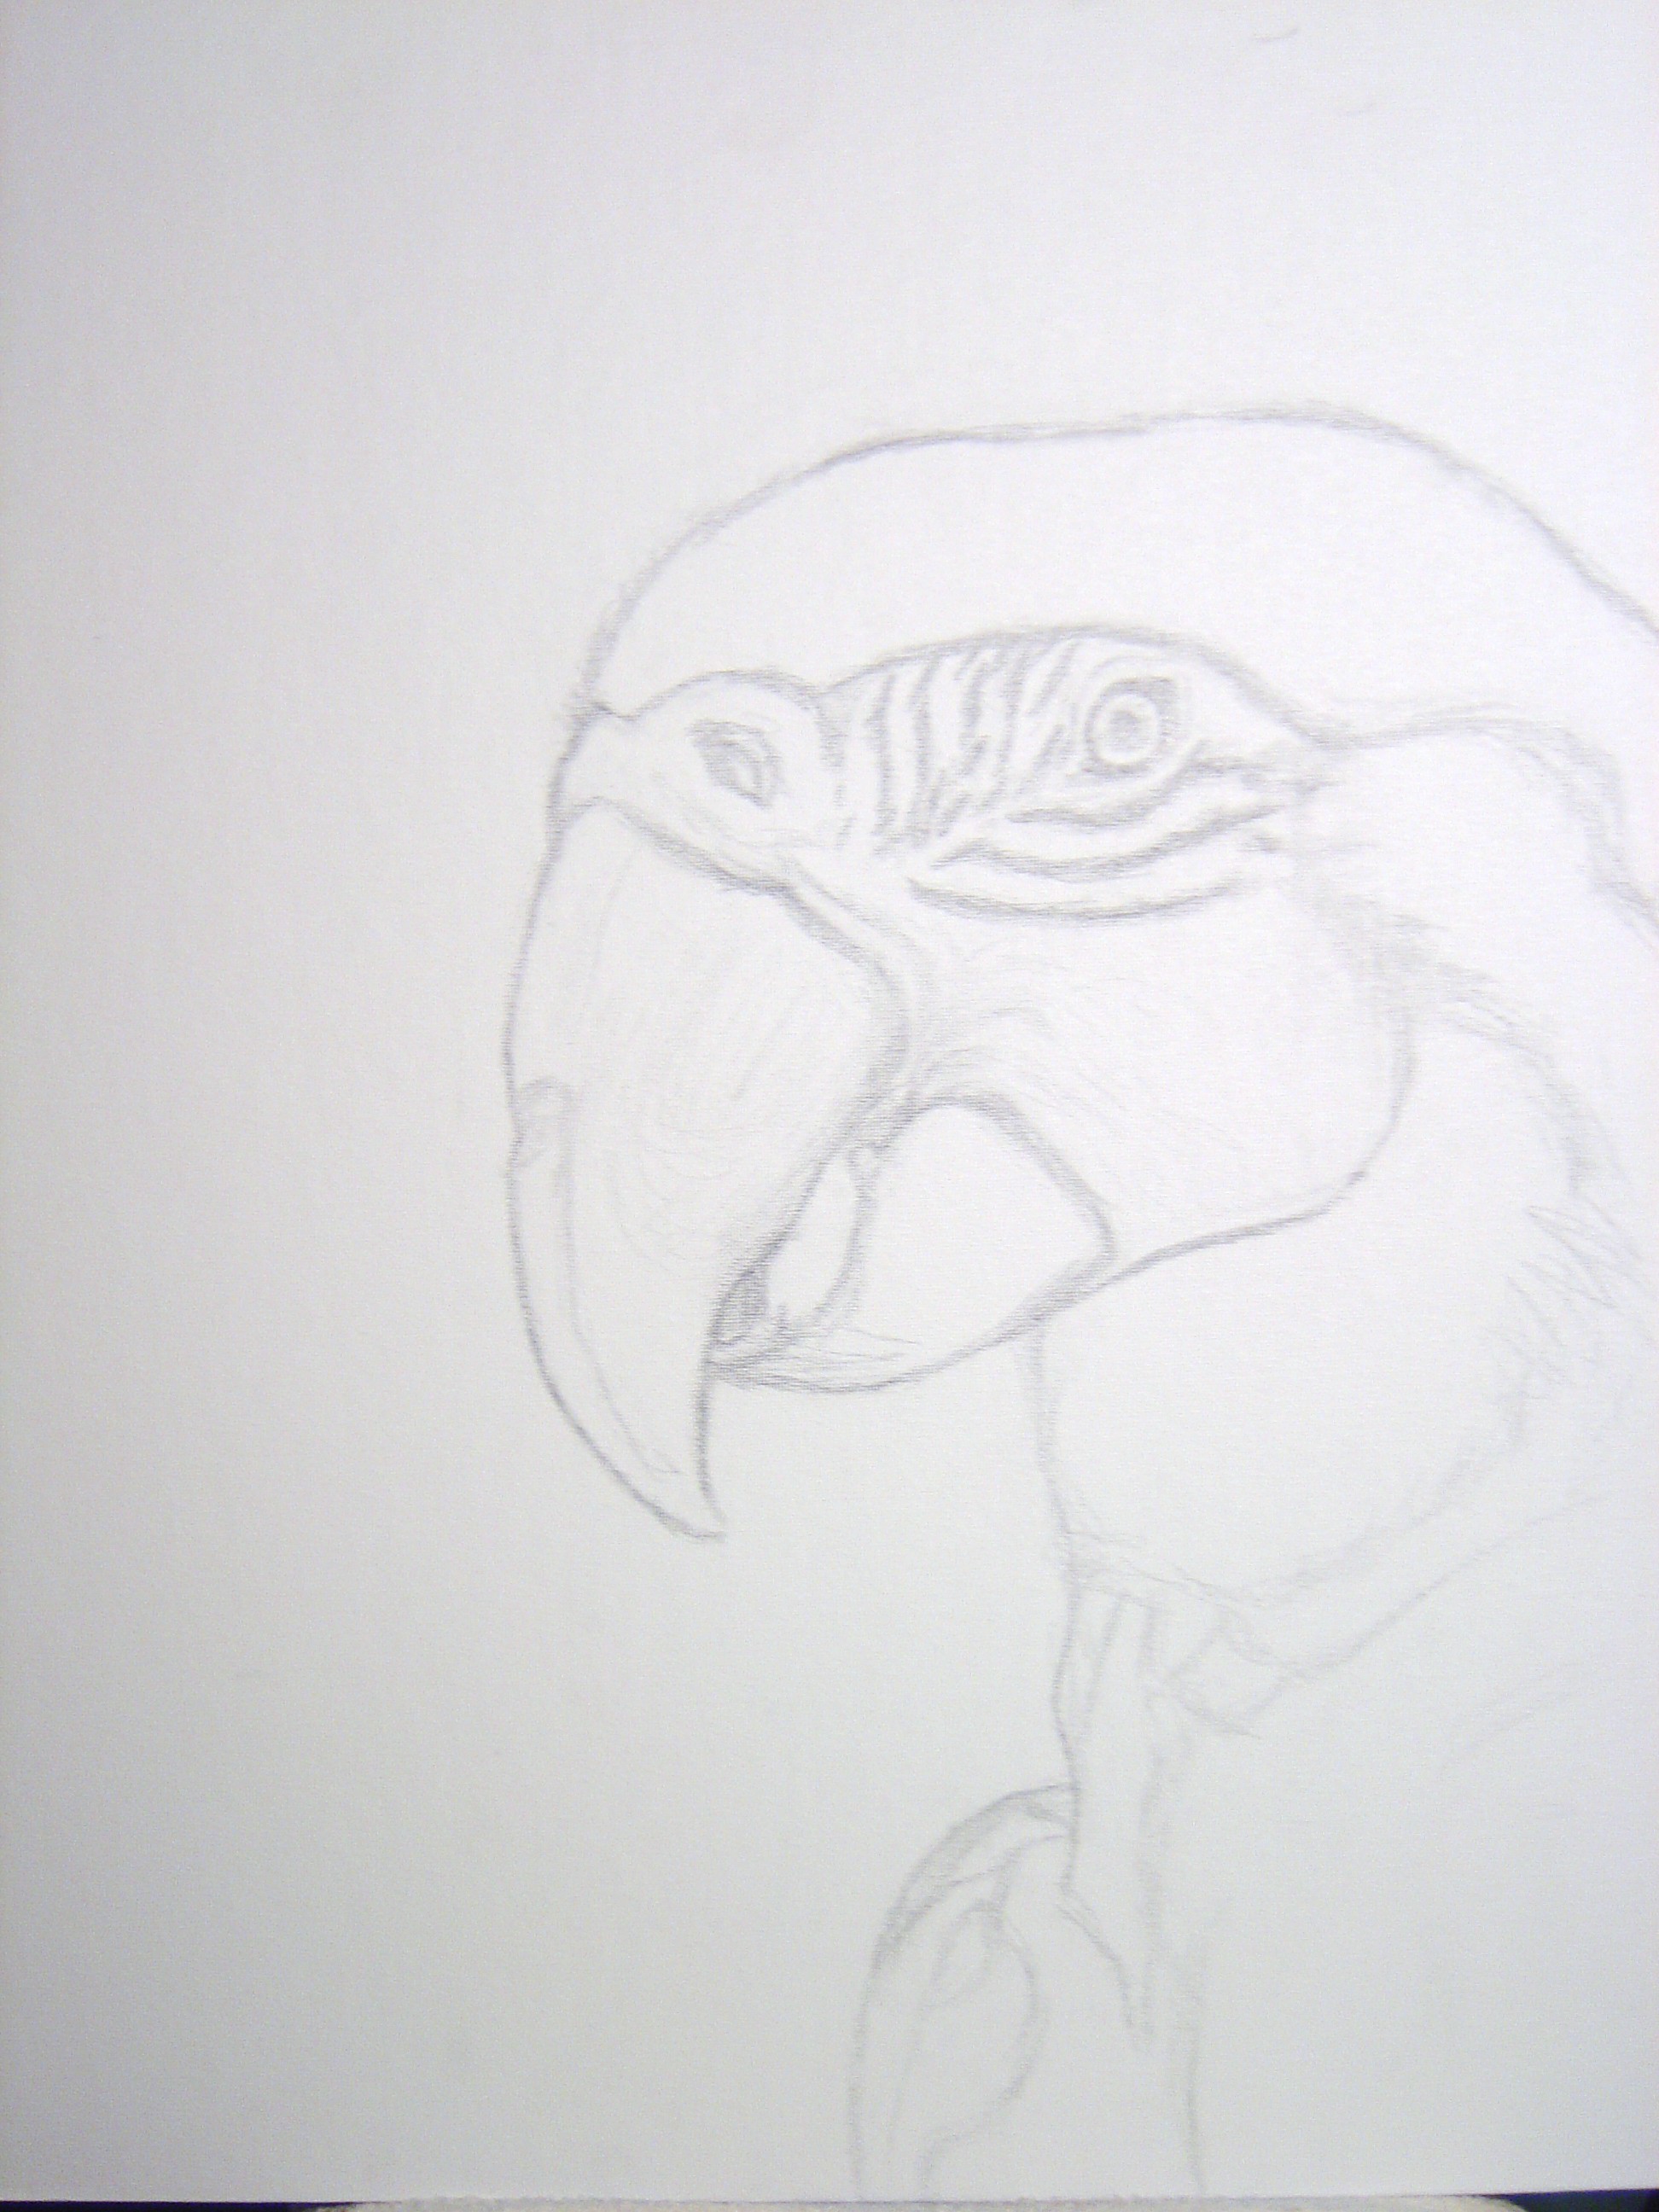
Step 1: The Sketch
This is where I get the layout down, which is very important since Im painting this one in sections. It's pretty much steps 1-3 under "Black & White" to get to this point, only cleaned out better.
Step 2:
Work with me here... this will make sense in the later steps. Wait... Oh god, it looks like my painting has ringworm!! NOOOOOOOOOOOoo!
I am too art-stupid to know why there are those annoying spots with the no color in the middle and the lots of color build up on the outside or what they're called but it kinda looks a bit like ringworm. I painted over them though so they're slightly less noticible, though still very irritating to me. You can only really see them when you look closely under a light. The glare really brings it out :(.
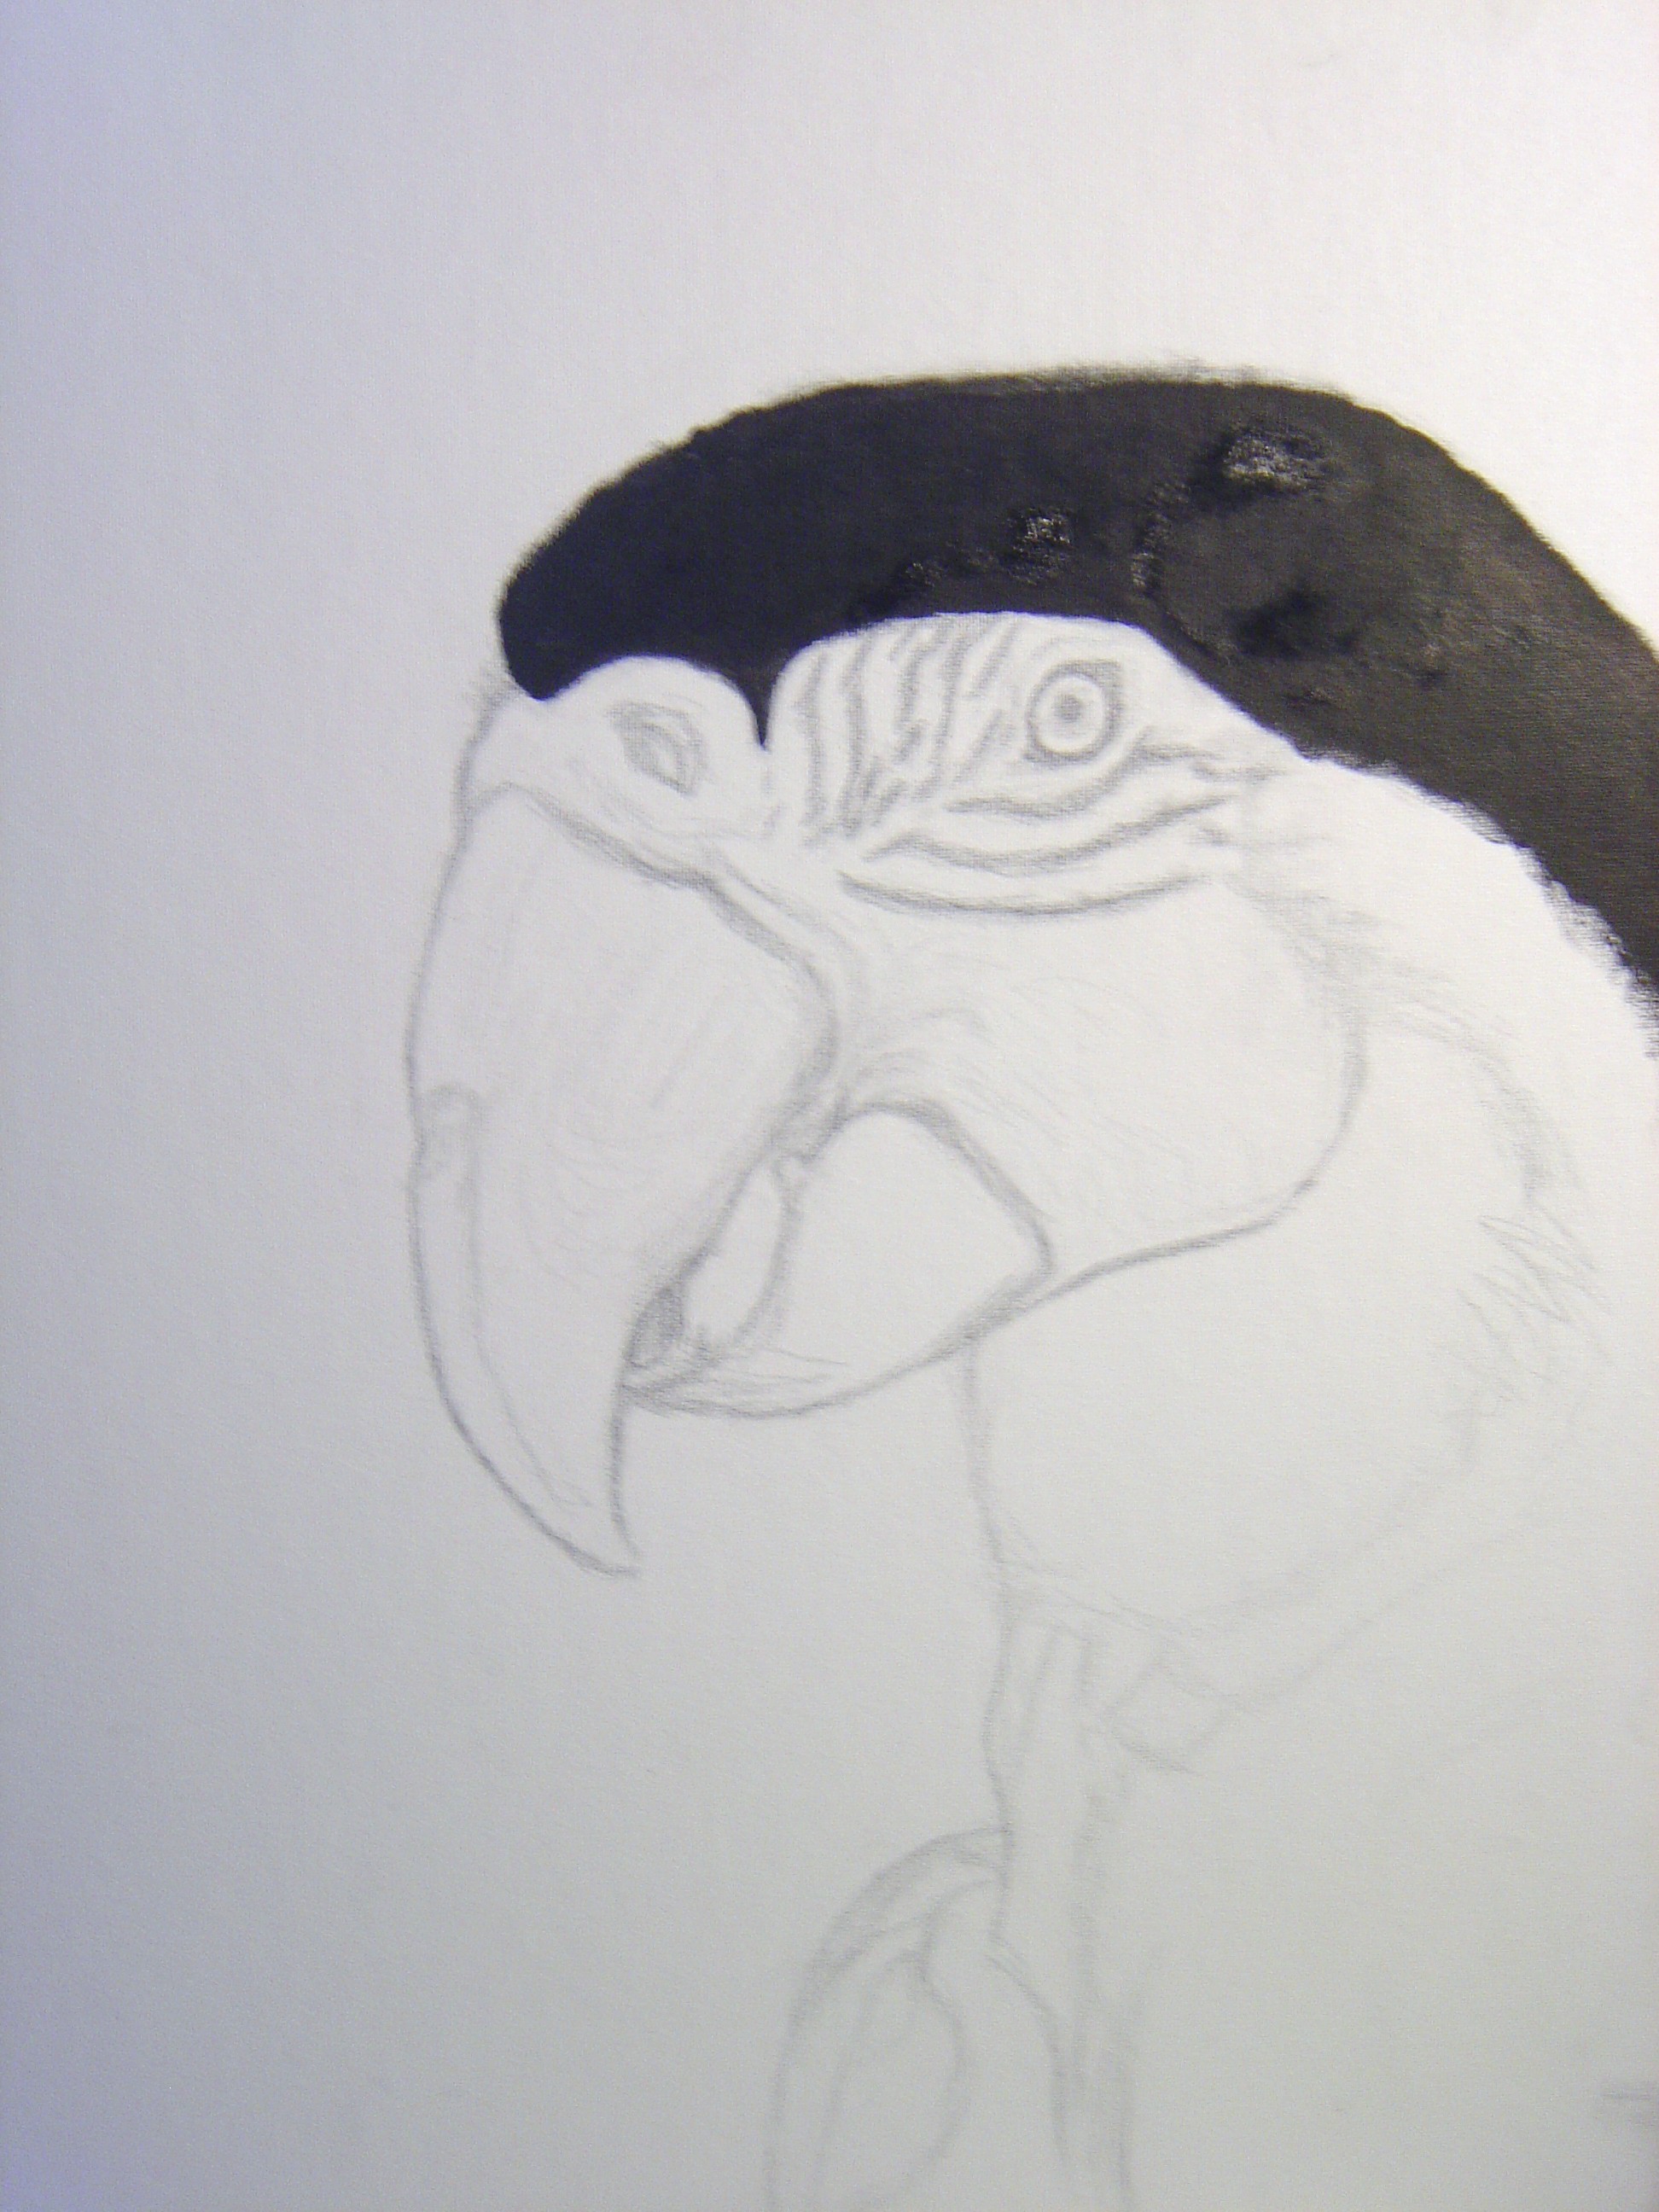
Anyways, in this step I basicly paint that section black because 1) if I paint the entire thing black I lose my sketch and have no direction and 2) if I paint it black it gives me a color to build up from, or a base, or whatever. I like to start out with a main color because I get fewer little white canvas spots and it gives me something to adjust and work with. That, and because the reference photo has a black background.
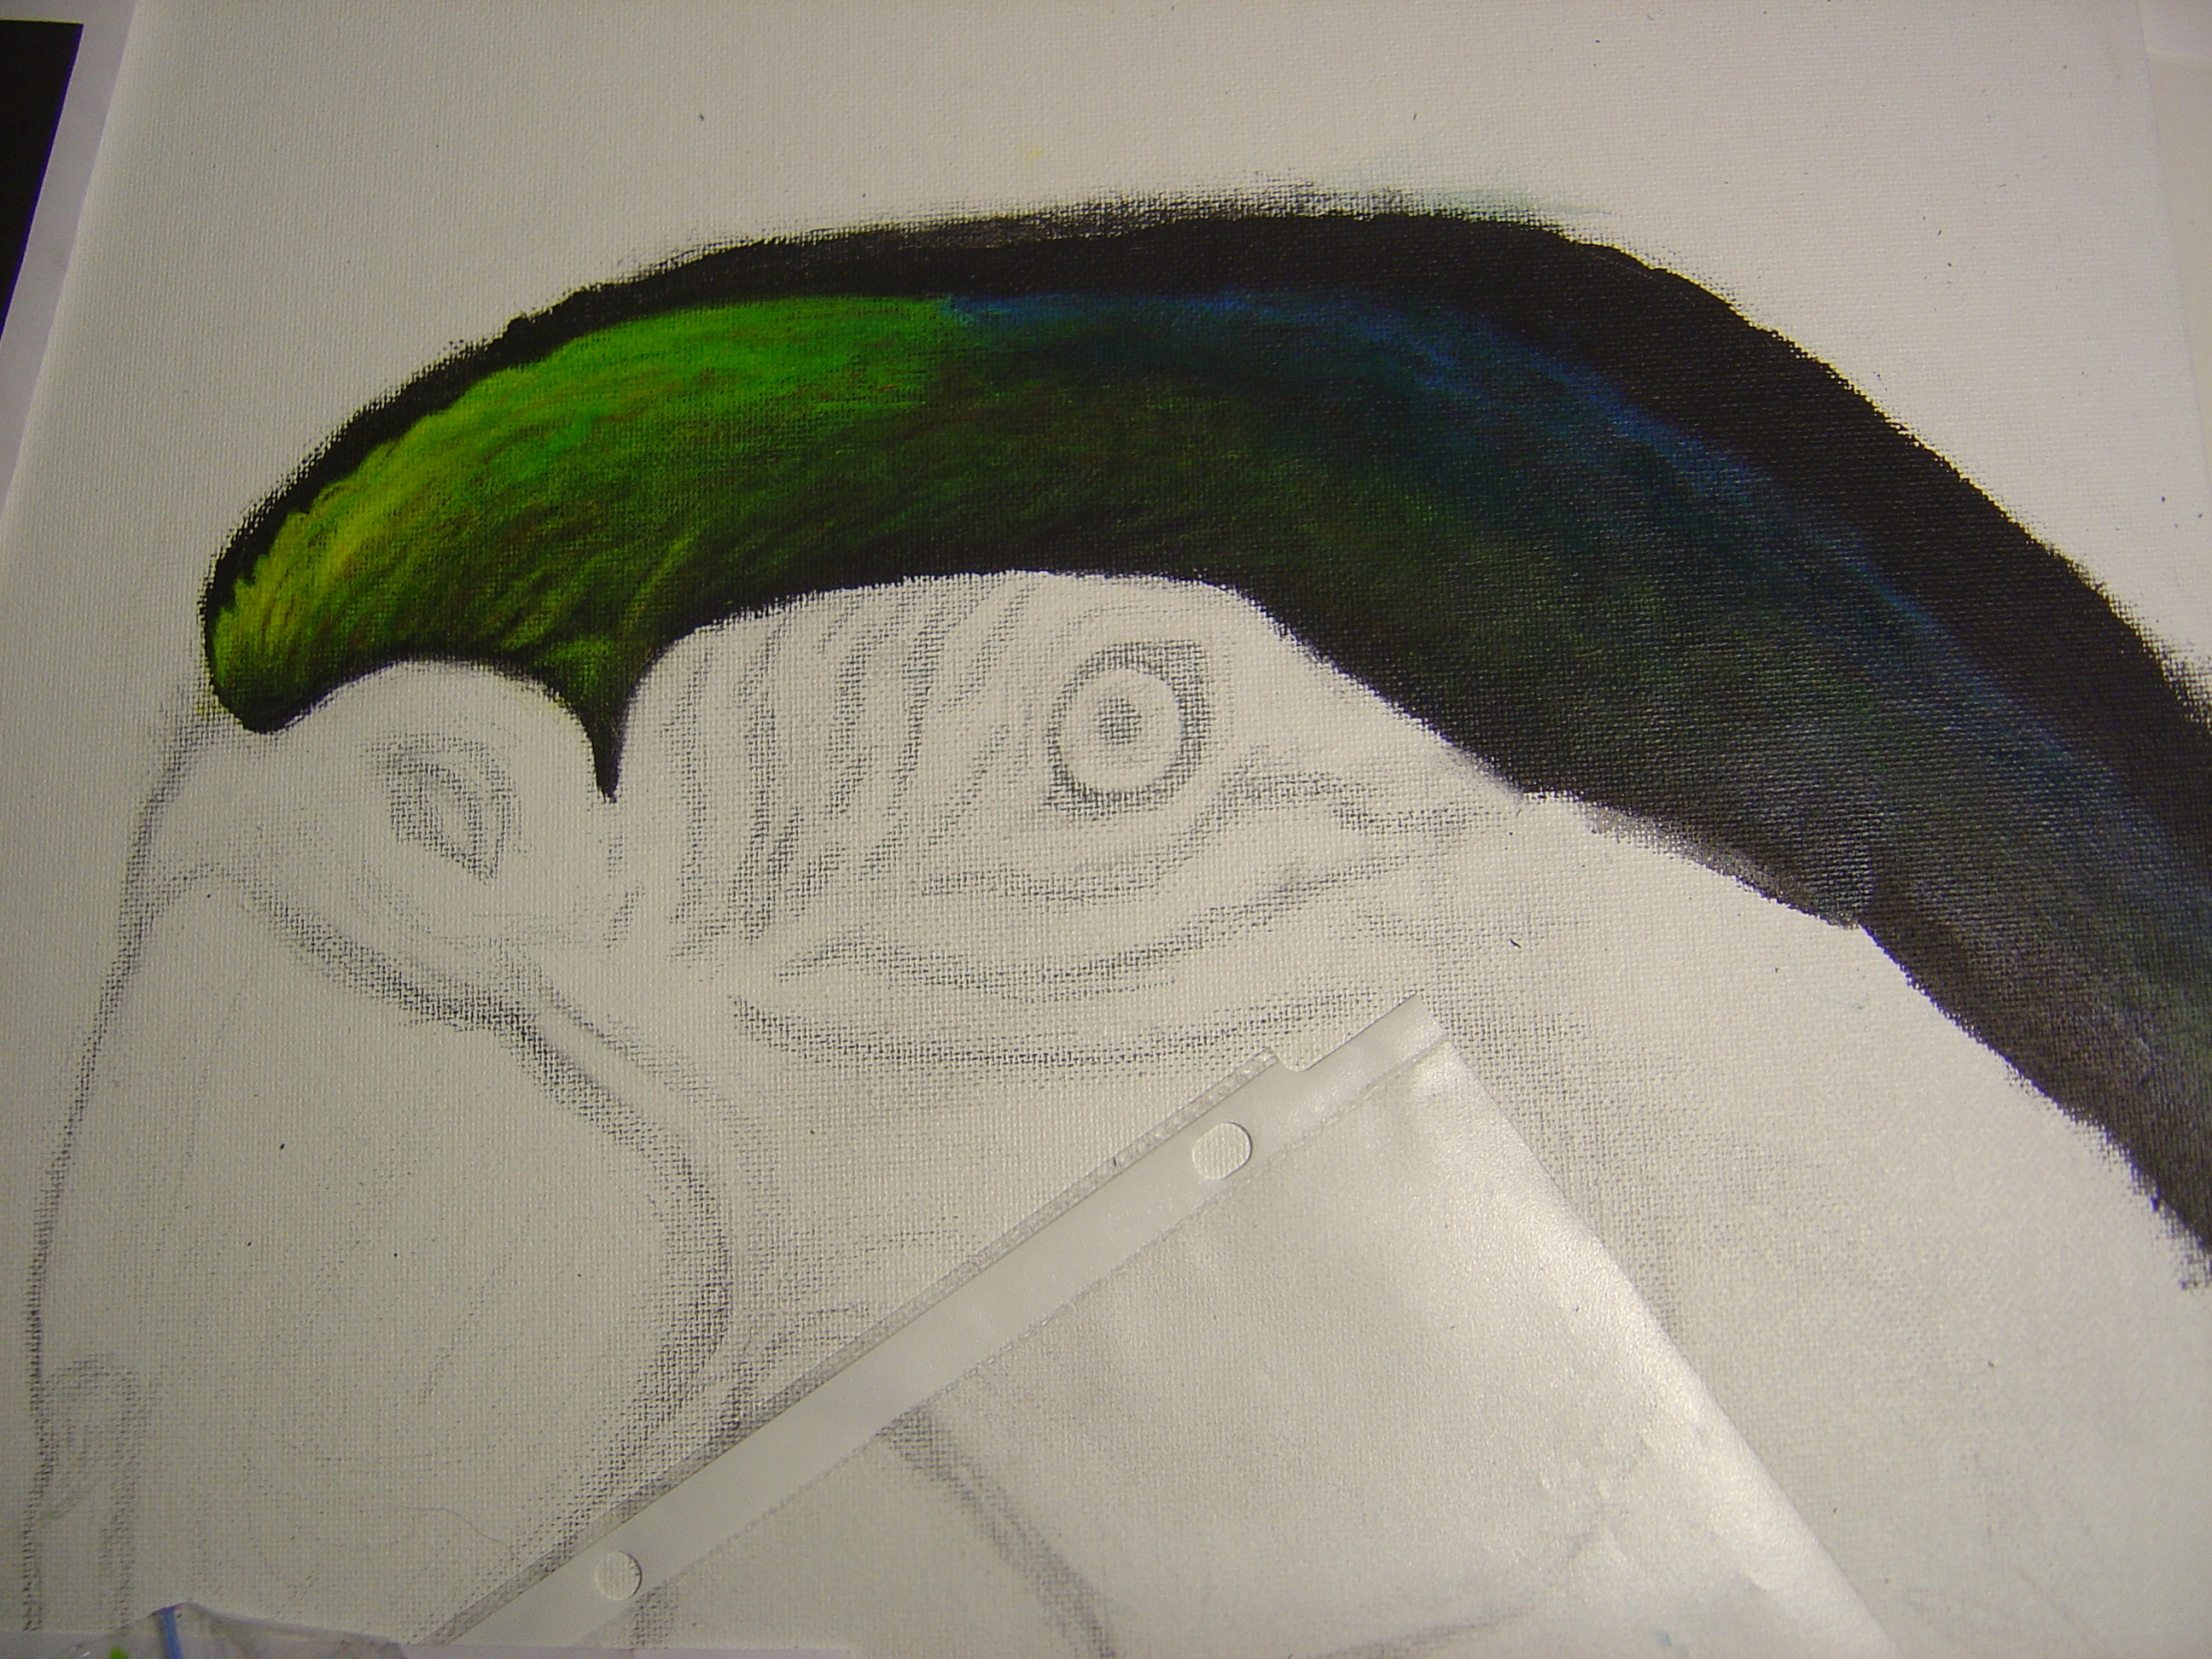
Step 3:
This is where what I'm doing starts to make at least a little sense. I build up from the black base color thingy, mainly with this freaky deaky primary yellor Studio 71 paint. I love it because it looks yellow but goes on like a yellowish green, and I'm too stupid to know why.
Step 4:
This is where I am now. And will be, for a very, very long time. A better picture coming when I start working on it again. Until then, it has been banished to the back of the paintings on the easel I'm currently only using to hold my canvasses until school lightens up. And then probably for some time after that.
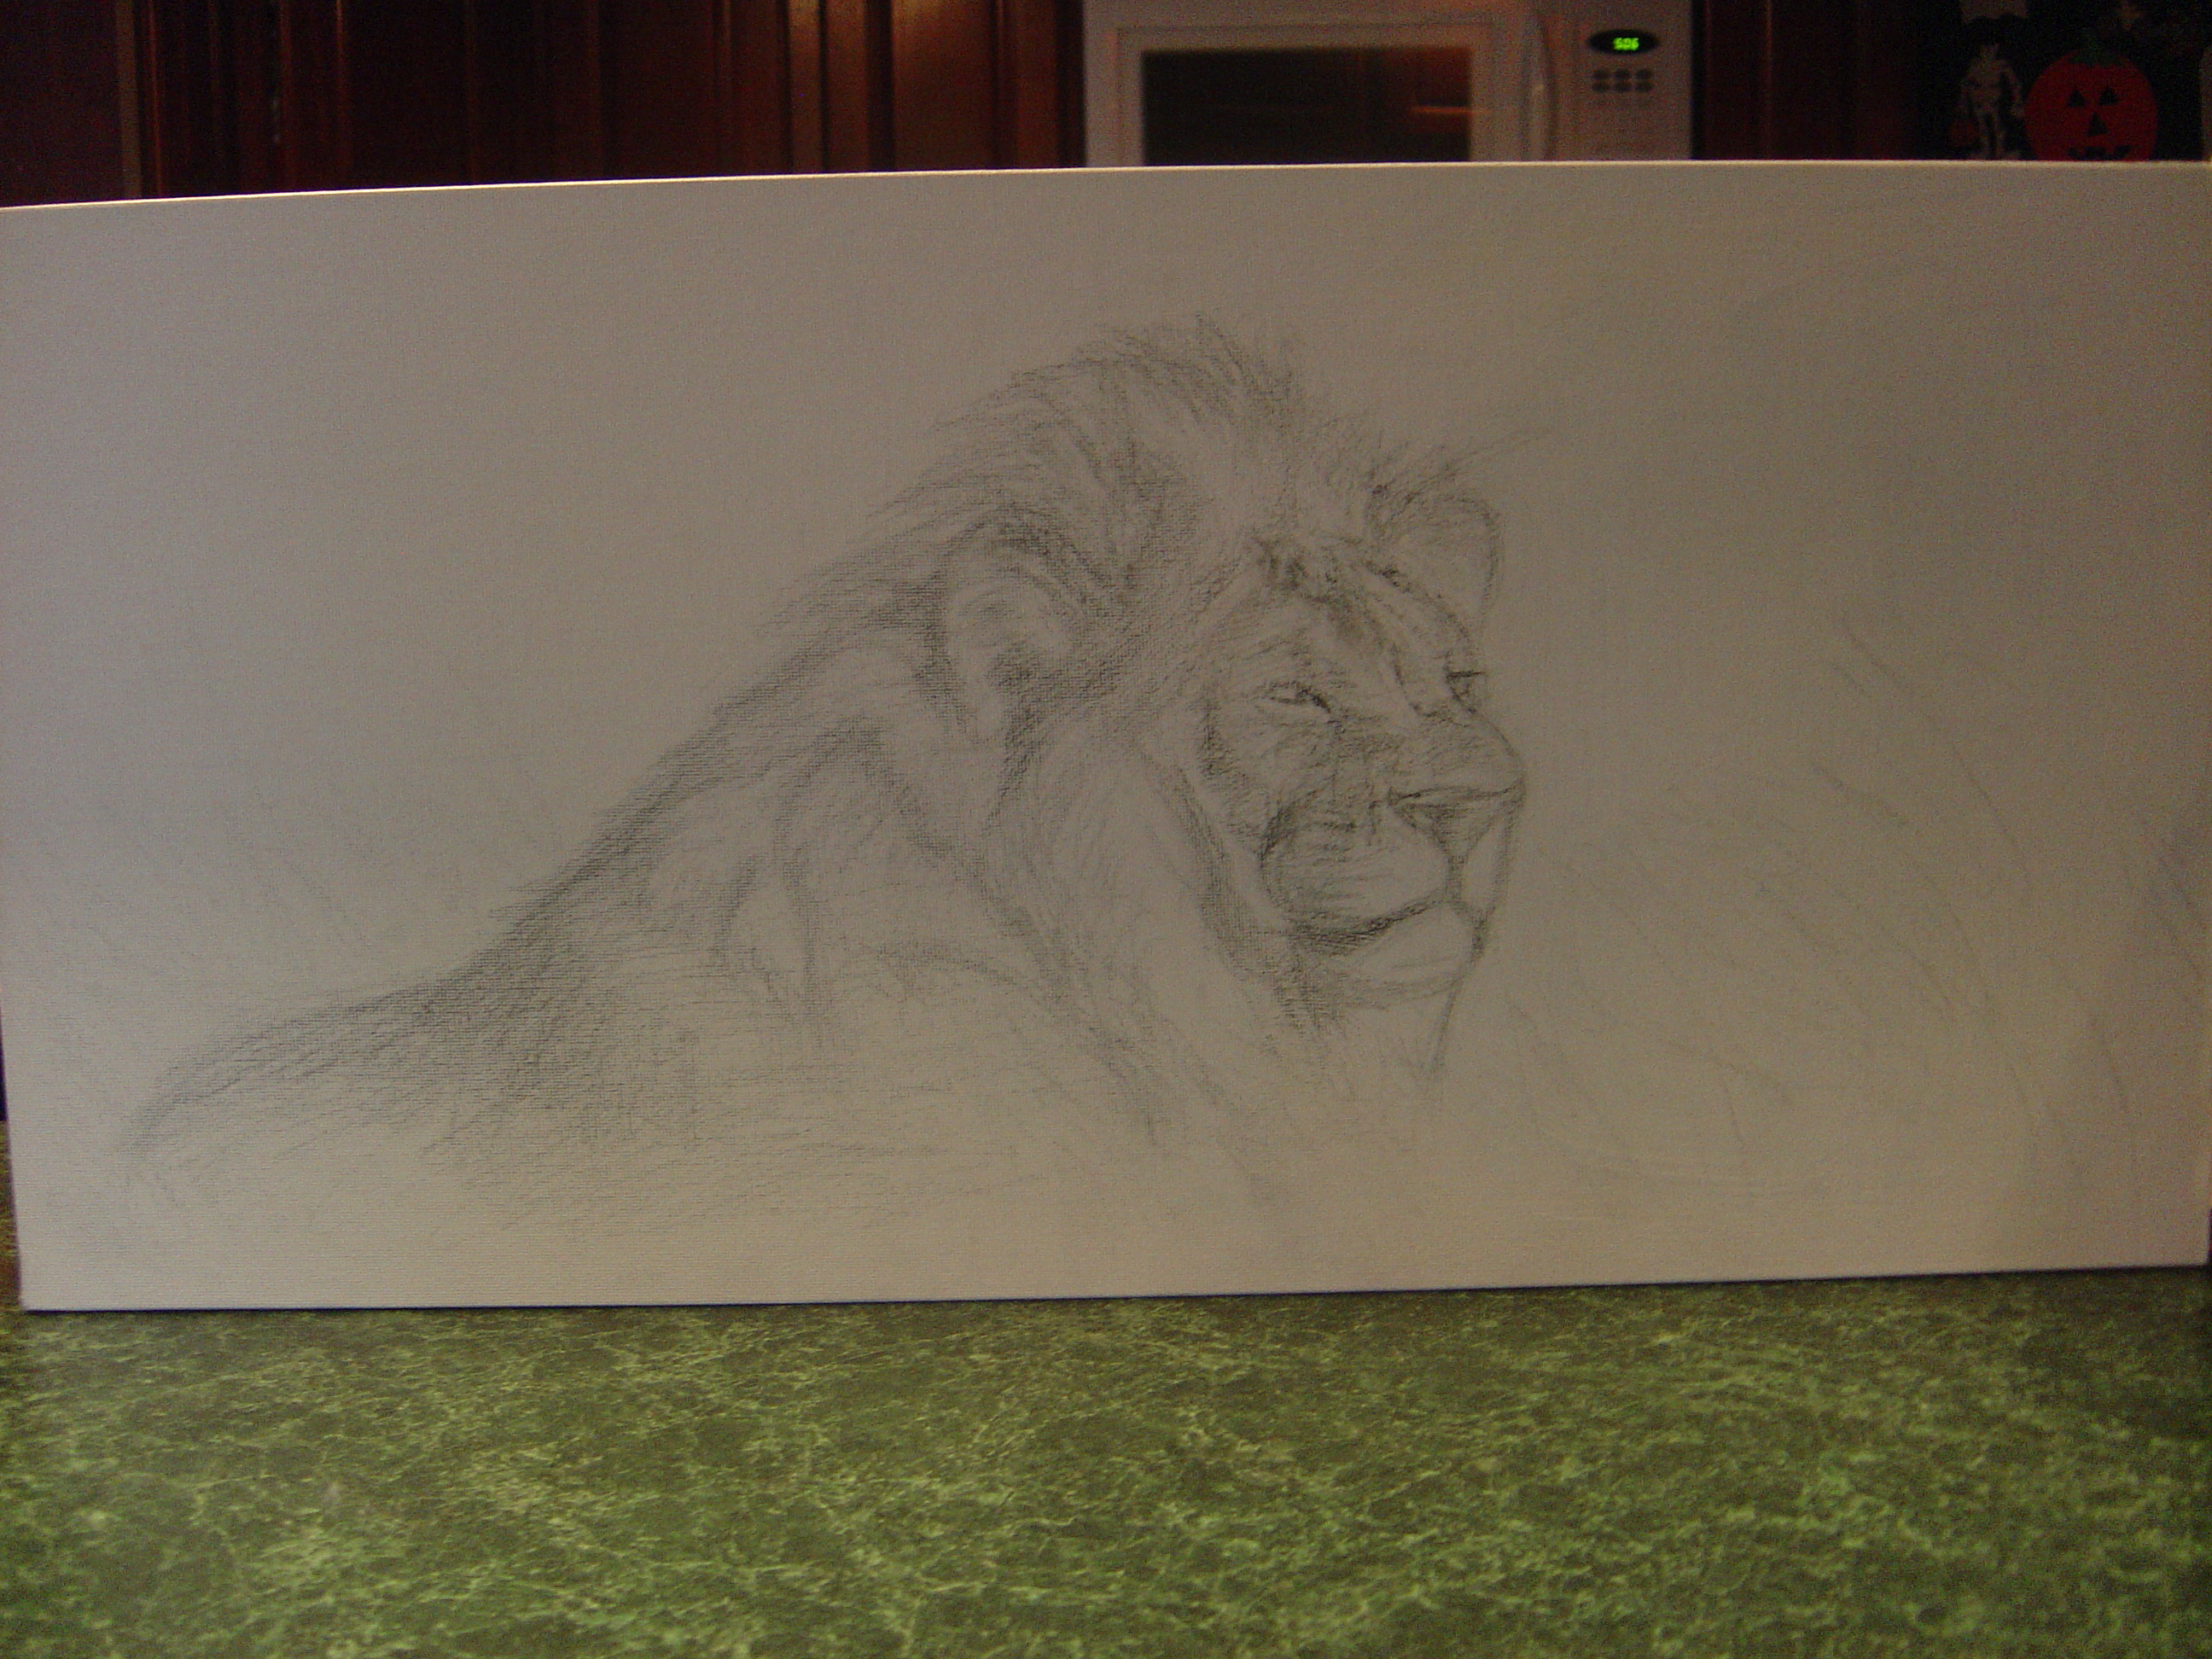
Lion In Field (Not Yet Completed)
This is my latest temporarily indefinitely abandoned project. I'm never going to be able to get this done during the school year, therefore, it will be AT LEAST another 8 months before it ever sees the light of day again. But who knows.
Step 1:
This is the sketch. This is one of those instances where I forgot what I was doing when I was sketching and took it a little too far, so it's more detailed than my typical pre-painting sketch. This is more like steps 1-4 under the "Black & White" process.
The Sculpting Process
Though I haven't done many sculptures, the different sculptures I have done are so diverse in medium and are often mixed-media so I have no idea exactly how I'm going to classify these... Oh, and I have no recorded sculptures yet. The only thing I have is my Romeo and Juliet project, which is technically a tape sculpture, but it's also got paper, wire, cloth... (I hate my OCD and my need to classify everything.)
(Almost) Life-Sized Tape Sculptures
Because this is not only what definitely appears to be a two (or more; if you are as incompetent as I) person job and requires about $10-20 worth of packaging tape per person, this is not something I'm going to do a lot of. Actually, this seems like it may have just been a once-in-a- (I don't want to say lifetime, because life is both so short and soooooooo long) -type project. I had a rather... "interesting" experience with this. Enjoy. ;)
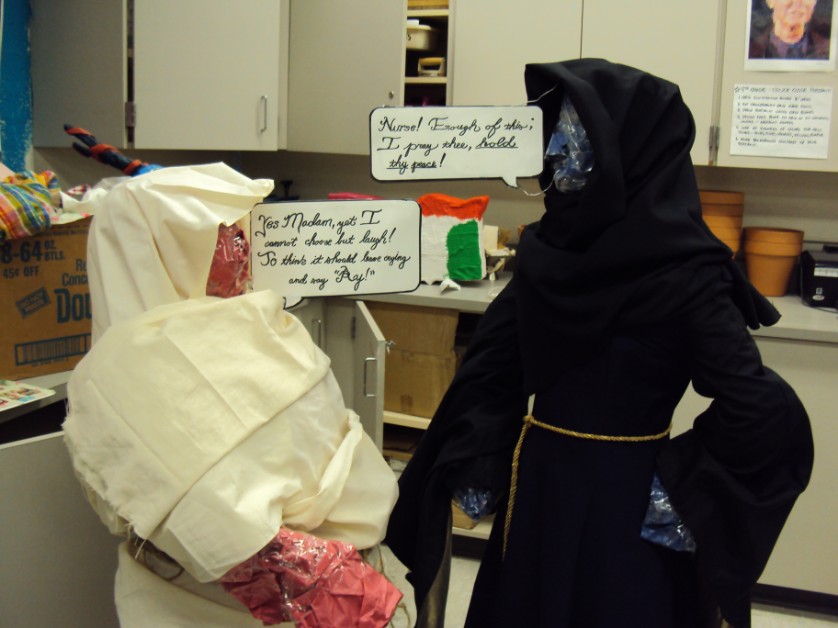
Romeo and Juliet Foil Project (Nurse and Lady Capulet)
First, I would like to explain the project and my motive behind it a bit.. This project is supposed to represent a character foil (when one character in a story offsets the other) which in Romeo and Juliet is evident between the Nurse and Lady Capulet. The day this was assigned to us, I had seen my art teacher (Mrs. Sweet) wrapping a student (David Savage) in tape and paper for his history project, and I was like, "hey! That seems really stupid and uncomfortable! I wanna try!!"
Long story even longer, I proposed the idea to my English teacher and she seemed to go for it, and said that if my project were really elaborate I could "collaborate" with a partner. My friend Megan Matejcic was (see her DeviantART here: http://shabuki.deviantart.com/ ) standing next to me, and well, one thing lead to another and... Below, you can see us covered in paper and packing tape making complete retards out of ourself, as well as explanations (that still don't reason our stupidity).
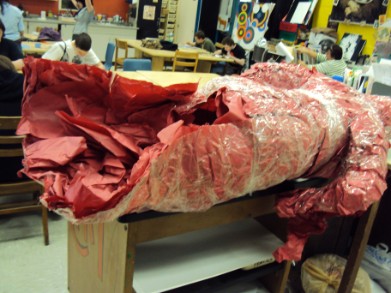
Step 1: Wrapping Ourselves in Paper
So first, to cut down the risk of bodily injury and give the tape something to take shape to, we cover ourselves in paper.
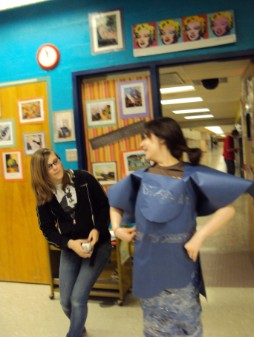
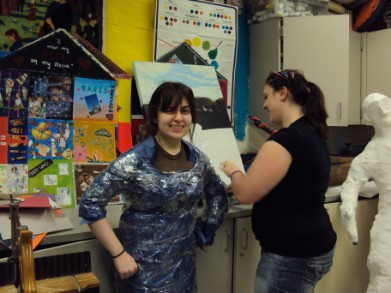
To represent how the Nurse and Lady Capulet contrast eachother, I wanted to use contrasting colors (orange and blue). Unfortunately, we were sort of limited in the art room and we had to use red and blue. Either way, the Nurse (Megan) is red because she's vibrant and bright and Lady Capulet (me) is dark blue because she's serious and that blue seemed like a more "noble" color because the Capulets were nobility.
[Yes, that's me in the blue, modeling my latest clothing design. It is also me with my hair up, which you will almost never see recorded.. Cherish these images.]
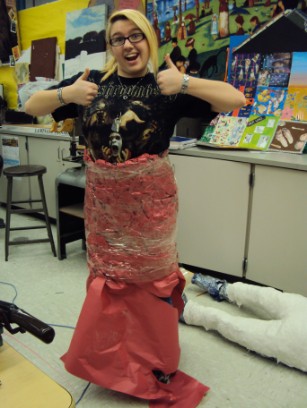 |
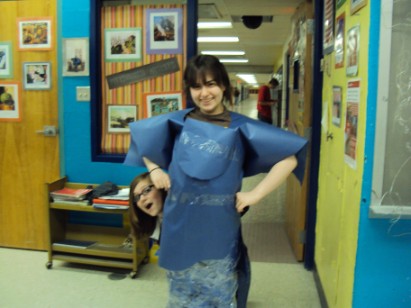 "So I was thinking of starting a fashion line..." |
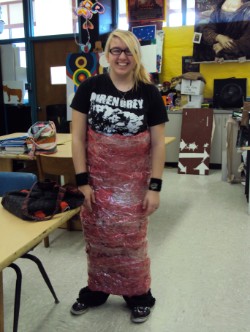
Step 2: Tape... Lots of Tape
To get the paper to hold our shape, we cover it with packaging tape. Lots and lots of packaging tape. I had little idea what I was doing when I was taping Megan, so we used (I think) 7 rolls of tape on her. I used about 3 1/2 because we had actual knowledge of how to go about this on the second run.. We used up all of the school's remaining packaging tape and then I had to go out and pay $10 for my 4 rolls.
We both have long hair so when we started taping we had to put our hair up to reduce the risk of hair loss.. at least for this step. Later, I would also end up cutting some of Megan's hair. (Once again, I'm sorry.) Also, that is Kaylee "Nugget" Nugent wrapping me. And peeking out from behind my skirt up there. ^
 |  |
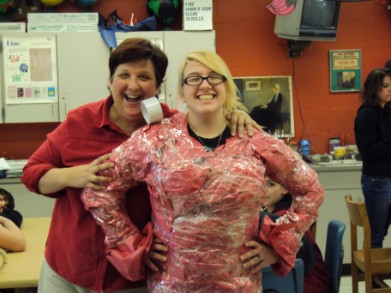
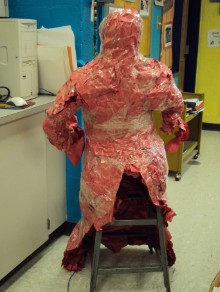
Step 3: Body Modification (With More Paper)
Okay, one thing I would really like to make clear: we do not look like our tape-selves. at all. I'm not sure if it's because we did such a poor job (or because we REALLY look like that.... we don't, do we?) but the paper has a way of... "flattening" your figure. Granted, I didn't have much to begin with but... well, we needed to add to ourselves. To Megan, the stomach and chest areas and then me in the chest area (and later I would need to trim my shell's waist.).
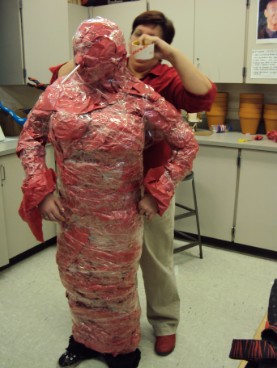
In the red, Mrs. Sweet had just finished giving Megan breast implants, after I added like 4 inches to her waist with my fail paper & tape wrapping job. Also, later, when taping her shell together, I will take several inches off of her height.. And make her plumper. (I'm sorry.)
In the blue, that is me getting rock-hard paper-wad breast implants. That face is one of both pain and confusion. Really, they shoved hard rolled-up balls of paper onto my chest and then punched me repetitively to "shape them"... I have bruising. I think I was crying a little, which would make a very important later step difficult..
 |  |
Step 4: Our Faces
Now, we cover out face with a sheet of paper and then tape it down. Unfortunately, the schoolboard frowns upon suffocating students, so we had to leave a hole and then stick a straw up our nostrils. One kept falling out of Megan's nose, and neither would stay in mine because my nose was running, what with the crying in pain from the last step. They didn't get a picture of me completely covered, mostly because they couldn't get my straws to stay and I kept fidgetting so they basically had to work to get me out of there asap.
Step 5: Cutting Eachother Out of Our Shells
Finally, now that we are covered from head-to-toe, we get to shed our new layer of paper skin, leaving a shaped shell. While doing this, I probably wasn't as careful as I should have been, and when I was cutting Megan's face out, I cut about an inch off of a lock of her bangs... Which scared me, because I was the next one to get wrapped and cut out... but I'd like to think that my increased risk of breast cancer is enough pay-back.
 |
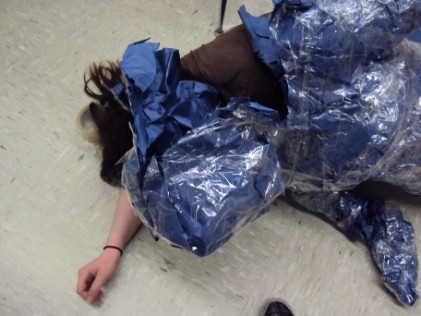 Oh, did I mention that they neglected to give me airholes? |
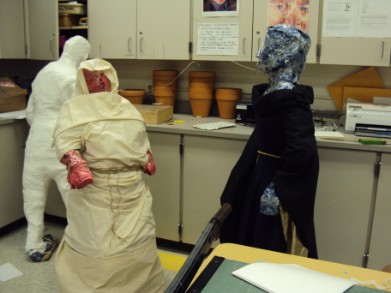
Step 6: Taping the Shells Back Together + More Modification
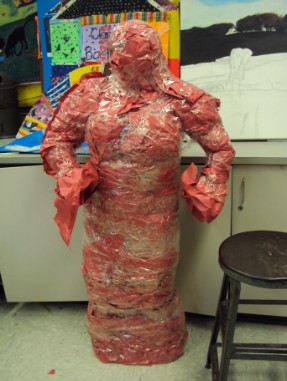
Of course we're still not done. This did take us an entire week, after all. I taped the shells together, while also modifying their body shapes once more.
For the Nurse, I added more "girth" to her back & thighs, while also shortening her. We built her around a barstool for balance, and I had no other choice but to beef her up. Also, I had to shove the barstool up her, and since I have a temper and the barstool wasn't fitting... I got angry, ripped up her back, and SHOVED the barstool into her.. and then I added paper and taped it. Really, the Nurse is now like 6 inches shorter than Megan. Even I'm taller than her, and I'm really short.
For Lady Capulet, I had to take a good 3-5 inches off of her waist to be sure that she would fit into the dress. Then, for her to keep her balance, we impregnated her with a long box. (If you had any idea how we got the box into her, you would know that there is no other more appropriate word than "impregnate")
 |  |
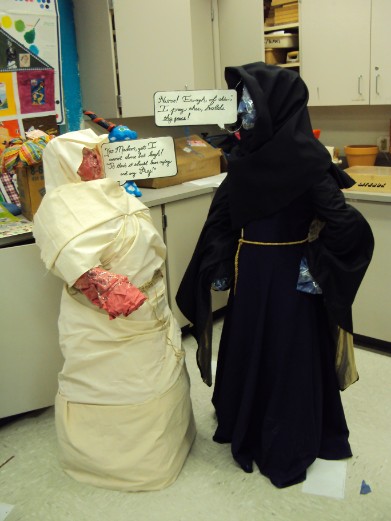
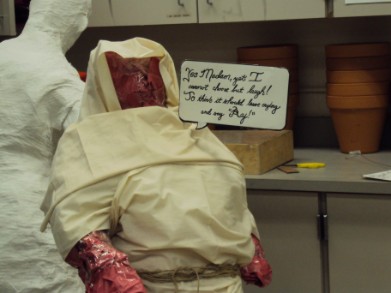
Step 7: Final Touches
Now we add the final touches to our dummies: clothes and speech bubbles. The dress Lady Capulet is wearing was made by Megan's mother a while before this project, with a pretty gold-ish rope tied around her waist. The nurse is wearing some pieces of canvas with some ugly brown twine wrapped around her. This is supposed to represent how Lady Capulet is wealthy and the nurse isn't. Also, the clothes play into the color scheme. Then, we pinned LC's hand to her hip to show her seriousness. The speech bubbles were made by Megan, and I simply added sculpting wire to the frame and then wrapped wires around LC and the Nurse's neck, and then through their faces at where their mouths would be (if they had them). Then, we had to transport them upstairs to the English room, but luckily we were able to get an elevator key. We basically dragged them down to the school's elevator (which I think is just a box filled with air from the 70's) and then dragged them into the English room. The teacher seemed pretty excited about it, and we got some pretty awesome "WTF?! O.o" faces from the class, along with the occasional jealous, snooty comment. :P
 |   |